This is a total bugger when it happens. You are knitting, or you've finished knitting, and you notice that you have the flip. So what to do? I have a couple of tricks that I thought you might like.
Let's start with why it happens.
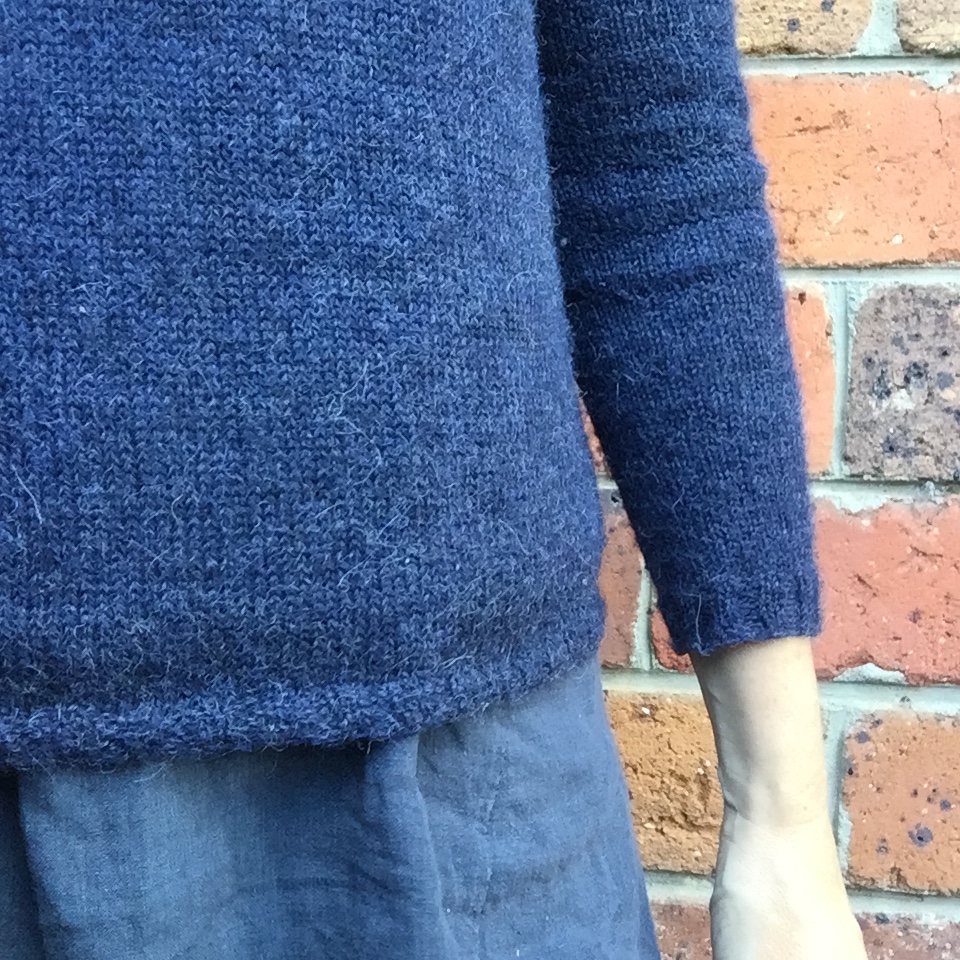
The basic reason is a change in tension between the two types of knitting, whether this is a ribbed hem or a garter hem.
When you rib you end up with more fabric than when you knit stockinette. Think about the process of making a rib. In between each "rib" you need to switch from knitting to purling and each time you do that you move the yarn from the front to the back (or vice versa) before making the next stitch. That means you have a tiny sliver of "extra" yarn between each stitch (for k1p1 rib) or two stitches (for k2p2 rib). The tiny sliver of extra yarn means as you end up with more yarn and therefore more fabric than if you were to knit the stitches in stockinette. The extra fabric causes the rib to flare, and at the point at which you change from stockinette to rib it flips.
It is all about tension. Change the tension, cause a flip.
It can happen with other stitches like garter too. When you go from a garter hem to stockinette you change the tension in the fabric. (To fix a flipping garter hem I normally use one of the first two tricks below. Whereas to fix a flipping rib hem I might use any of the three.)
The flip is pretty much only a hemline thing, rather than a sleeve thing or a neckline thing. That is because on both a sleeve and a neckline you have the extra tension, created by the body position in reference to the sweater, that means that flipping isn't such an issue. The only exception I have really found is on a loose fitting sleeve. (In which case I use one of the first two tricks below.)
Anyhoo, the whole problem is annoying but really fixable provided you are willing to experiment and rip a row or two here and there.
How do you stop it.
I often combine more than one trick.
The main thing you need to do is to decrease the amount of fabric in your band. You can do this using Trick 1 and Trick 2. Both of these methods decreases the amount of yarn/fabric you have in the band thereby pulling it in a little and decreasing the hem's desire to flip.
Trick 3 is specifically for rib hems. It involves altering the tension at the change point by reducing the amount of fabric at the point of the flip by slipping the knit stitches of the rib.

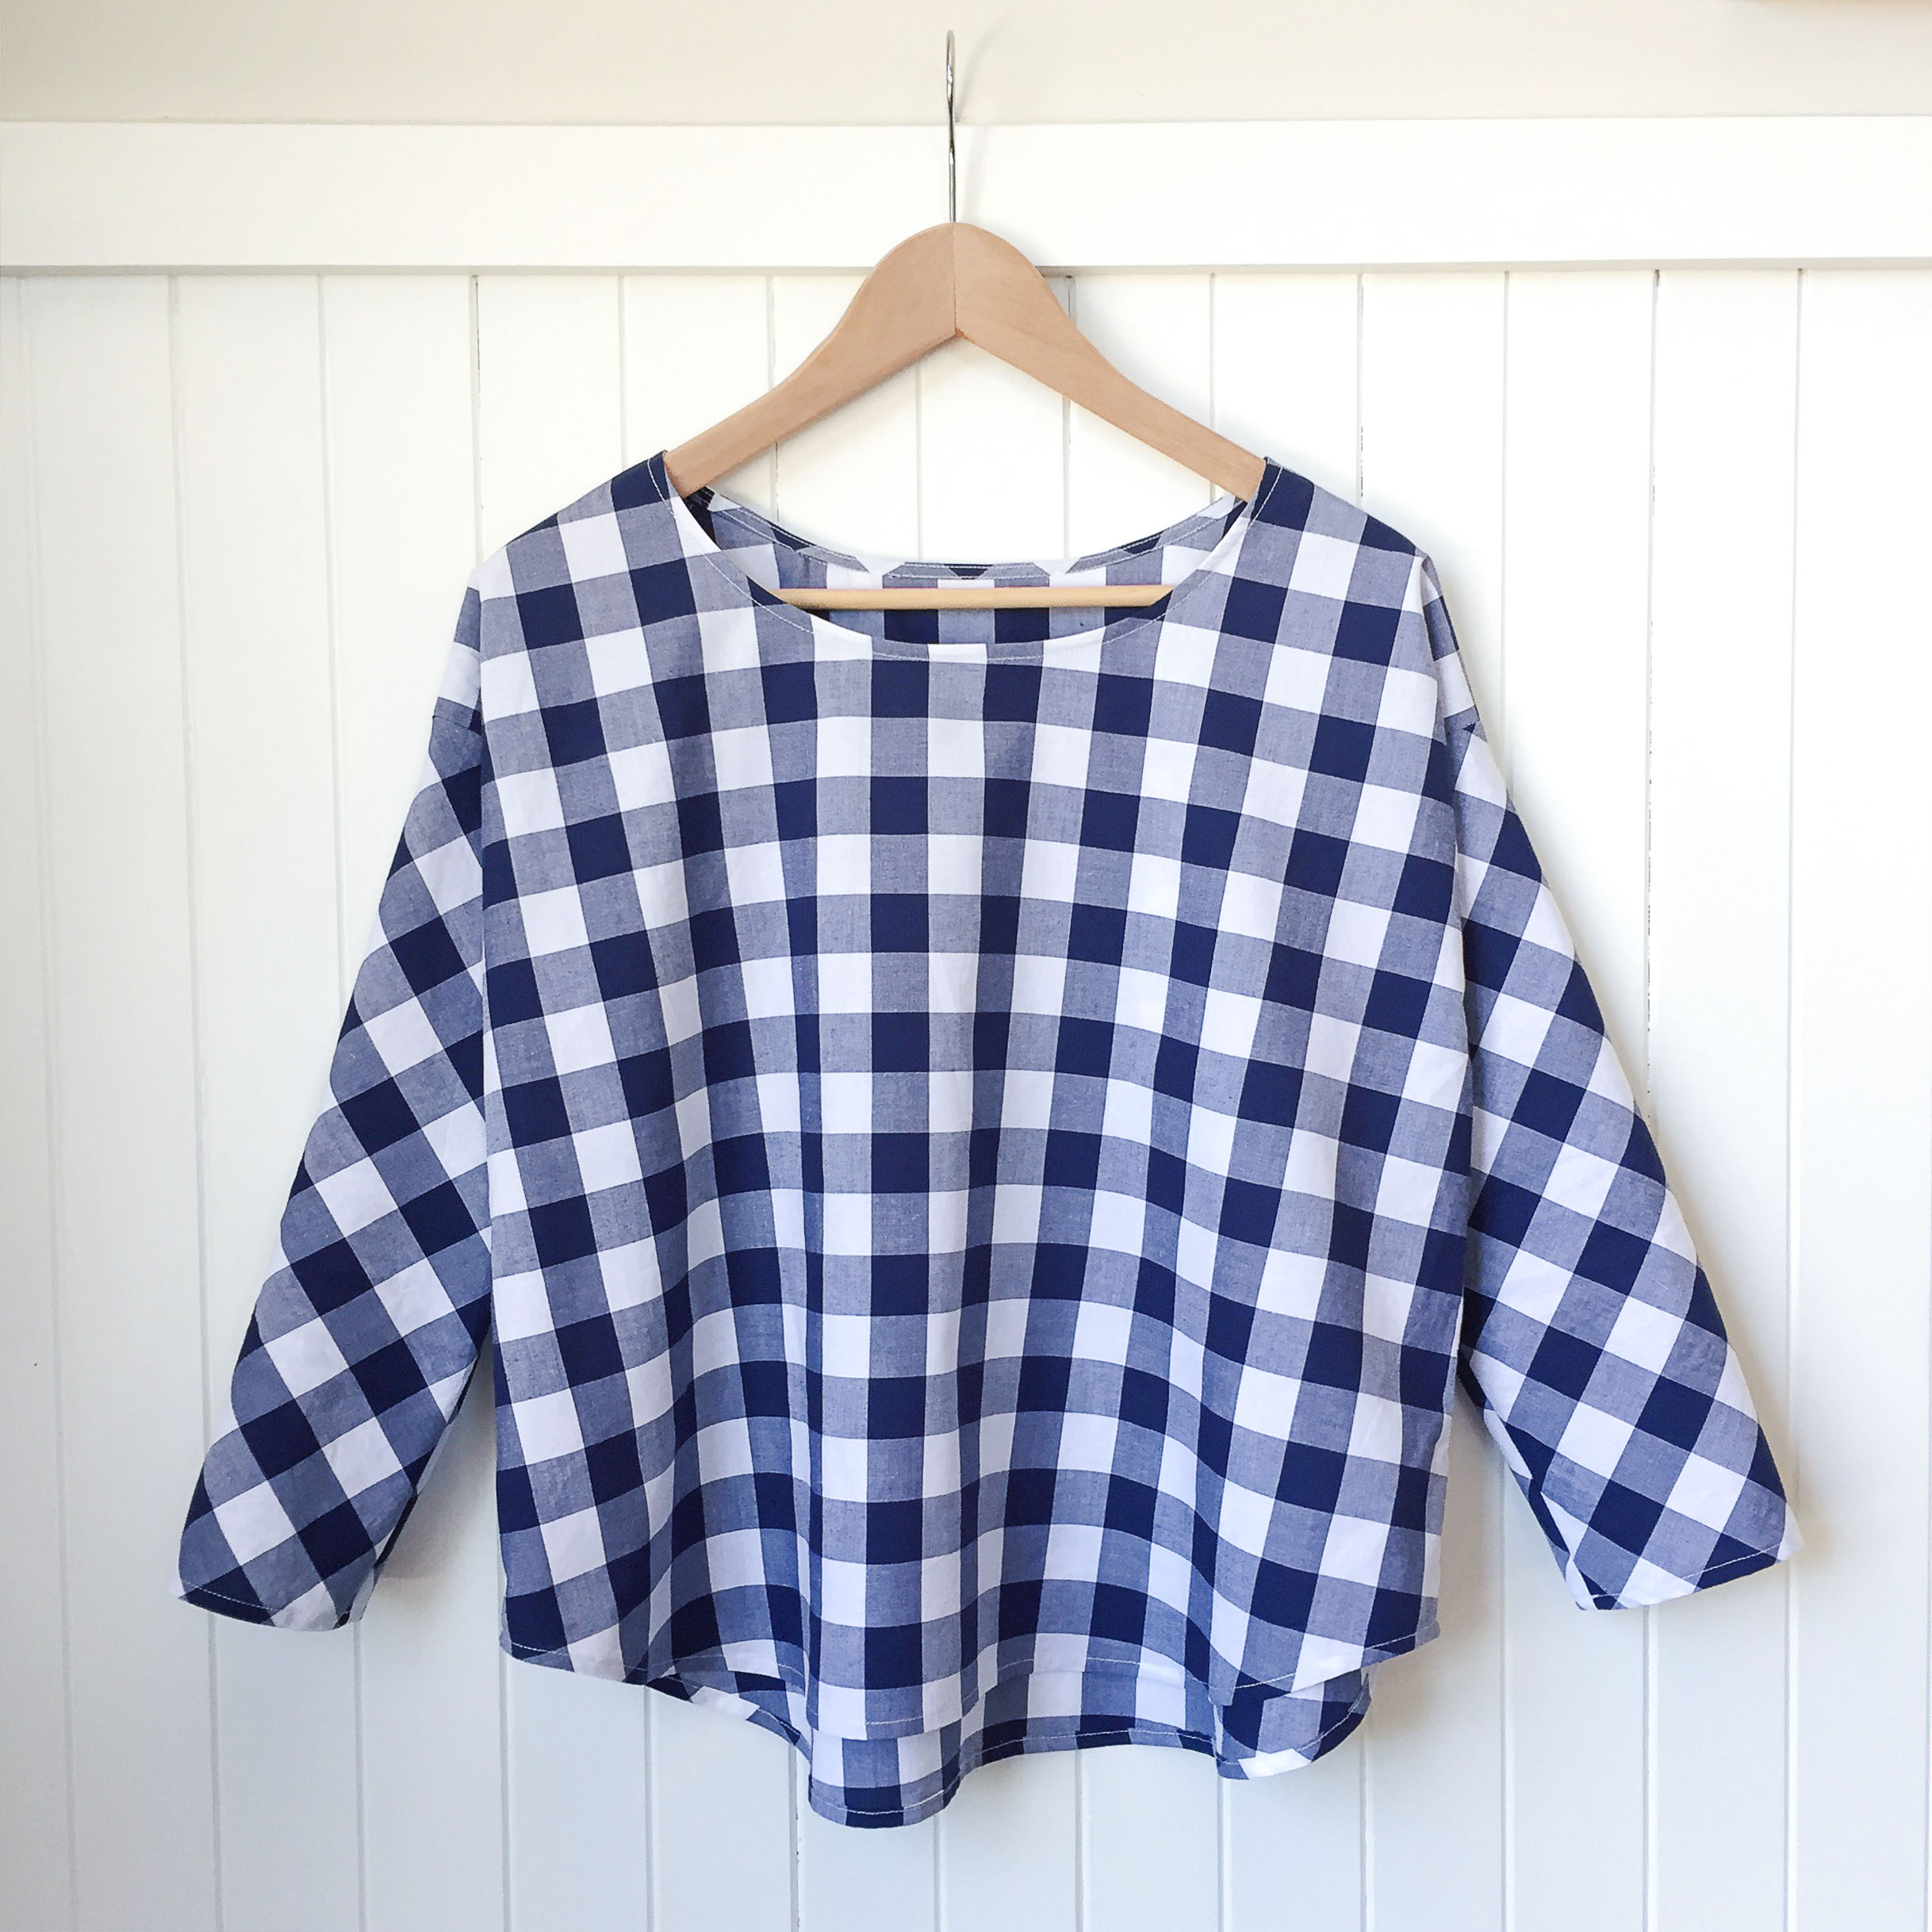
This hem was tamed by simply changing engaging with Trick 2.
Trick 1: Decrease the number of stitches
You decrease the number of stitches by doing a k2together every few stitches [k2tog kX] across the row on the last row of stockinette or the first row of rib ( for a top down sweater) or on the first row of stockinette (for a bottom up sweater). This is part art and part science.
There are no rules to exactly what the repeat should be. I vary my repeat from a [k2tog, k8] which was often the recommendation by Elizabeth Zimmerman right down to a [k2tog k3] for a straight sleeve.
How do I figure it out? I often try something, see what it looks like, and rip it out if it isn't tight enough or is too tight. So get started by choosing a repeat in between and try it.
Rib Band: I often do [k2tog k8] when going into a rib band because the very nature of the rib is that it pulls inwards. Sometimes this still isn't enough to pull the band in when going to garter.
Garter Band: The last sweater I made was a Granny's Favourite (which has garter bands) and I did it on the sleeves and the hem. I think I did a [k2tog k3] for the sleeve which sounds like quite a big decrease but it actually worked very well. I may have made it [k2tog, k4] for the body....
Please note that it does not matter whether the repeat fits into the number of stitches you have on the needle. Just keep doing the repeat till you get to the end of the row.
Trick 2 - Decrease the needle size
This is often used in patterns for hat bands or sweater bands but I also often use it even if the pattern doesn't recommend it. For example often my finished Granny's Favourites end up with stretched out necks because of rough-and-ready small girl children. So I always knit the neck band on a 3.5mm or even a 3.25mm band to make it a little smaller. This example obviously isn't about a flip but it has the same principle in that we are trying to reduce the amount of fabric created for the band. I often also do it for bands at the bottom of sweaters.
Trick 3 - Slip Stitches
This is a trick that works really well with a rib band. I generally use this one one where I am shifting from a rib band into stockinette - so bottom up sweaters. On the change row, rather than just knitting the whole row, I slip each of the knit stitches and then knit all the purl stitches. I have used this trick on both a k1p1 and a k2p2 rib band. The flip doesn't happen because you are changing the tension by making it tighter at the flip point with all the slipped stitches.

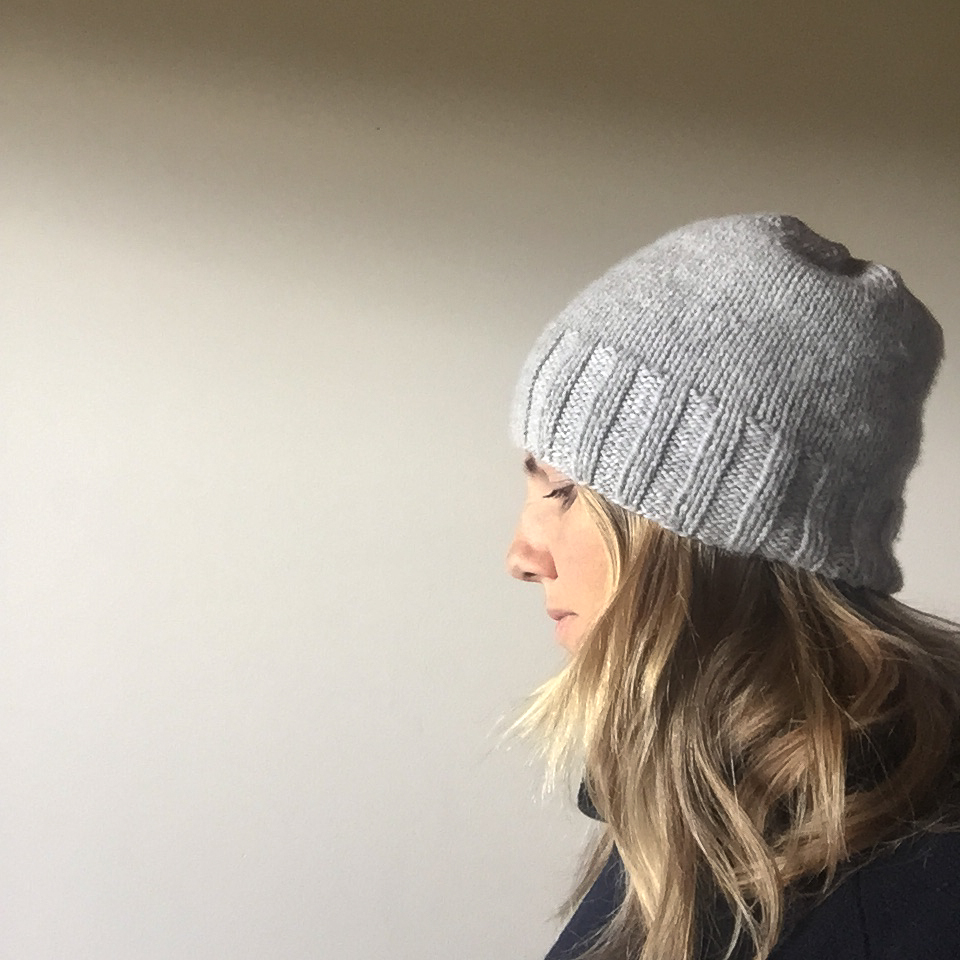
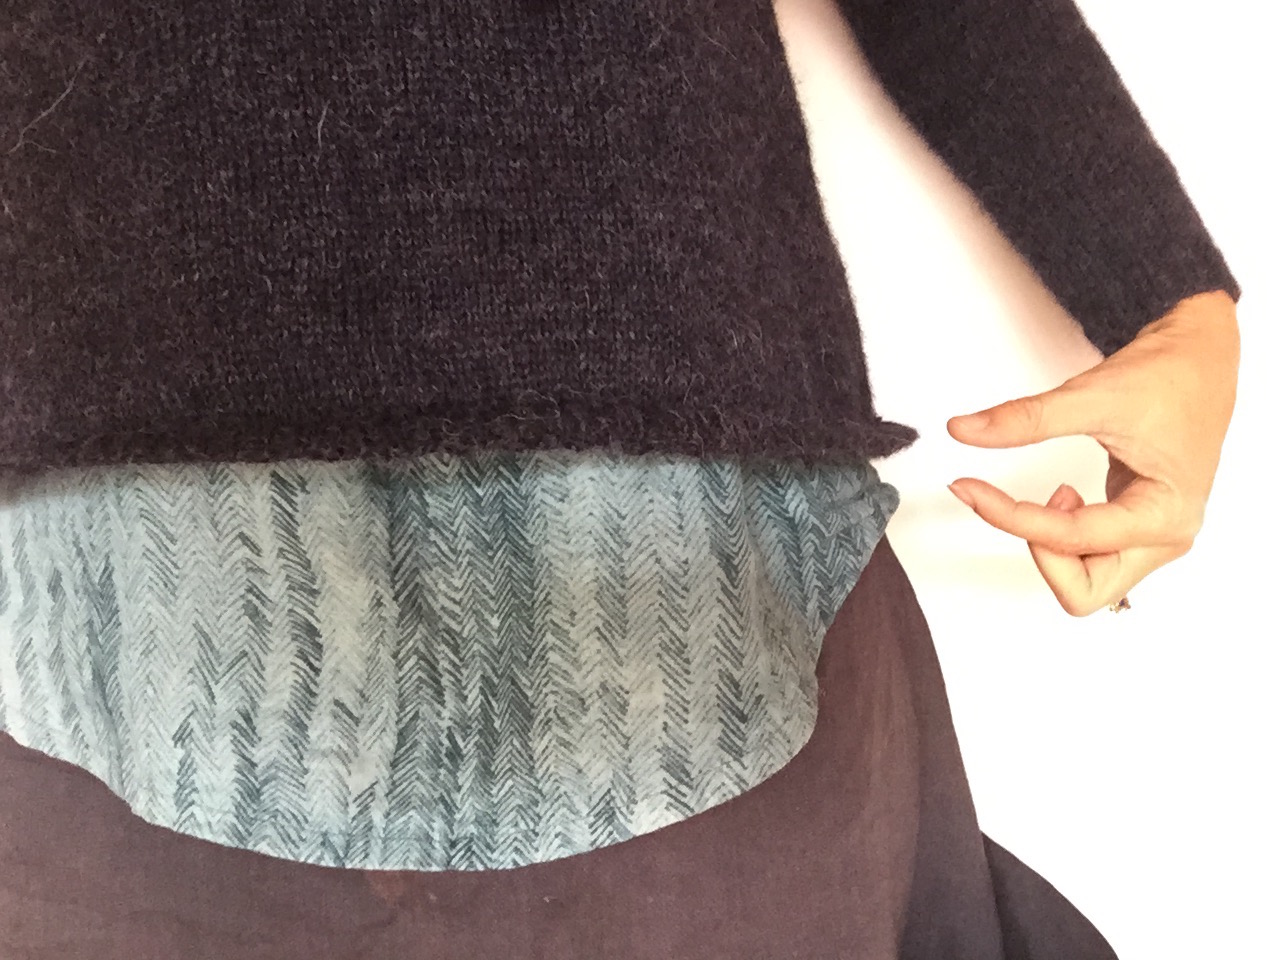
A non flipping hem. That I am happy with. Near enough is good enough and completionism rather than perfection. I adore this jumper.
You can still see the tension change between the band and the body as it dips in. This could be the result of taking out too many stitches....?
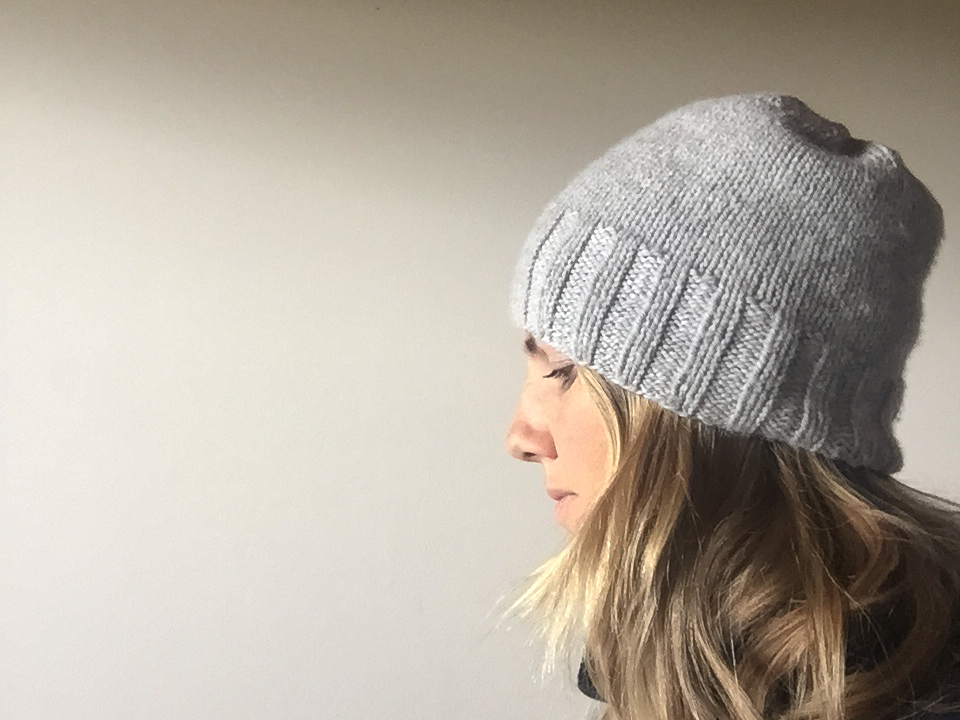
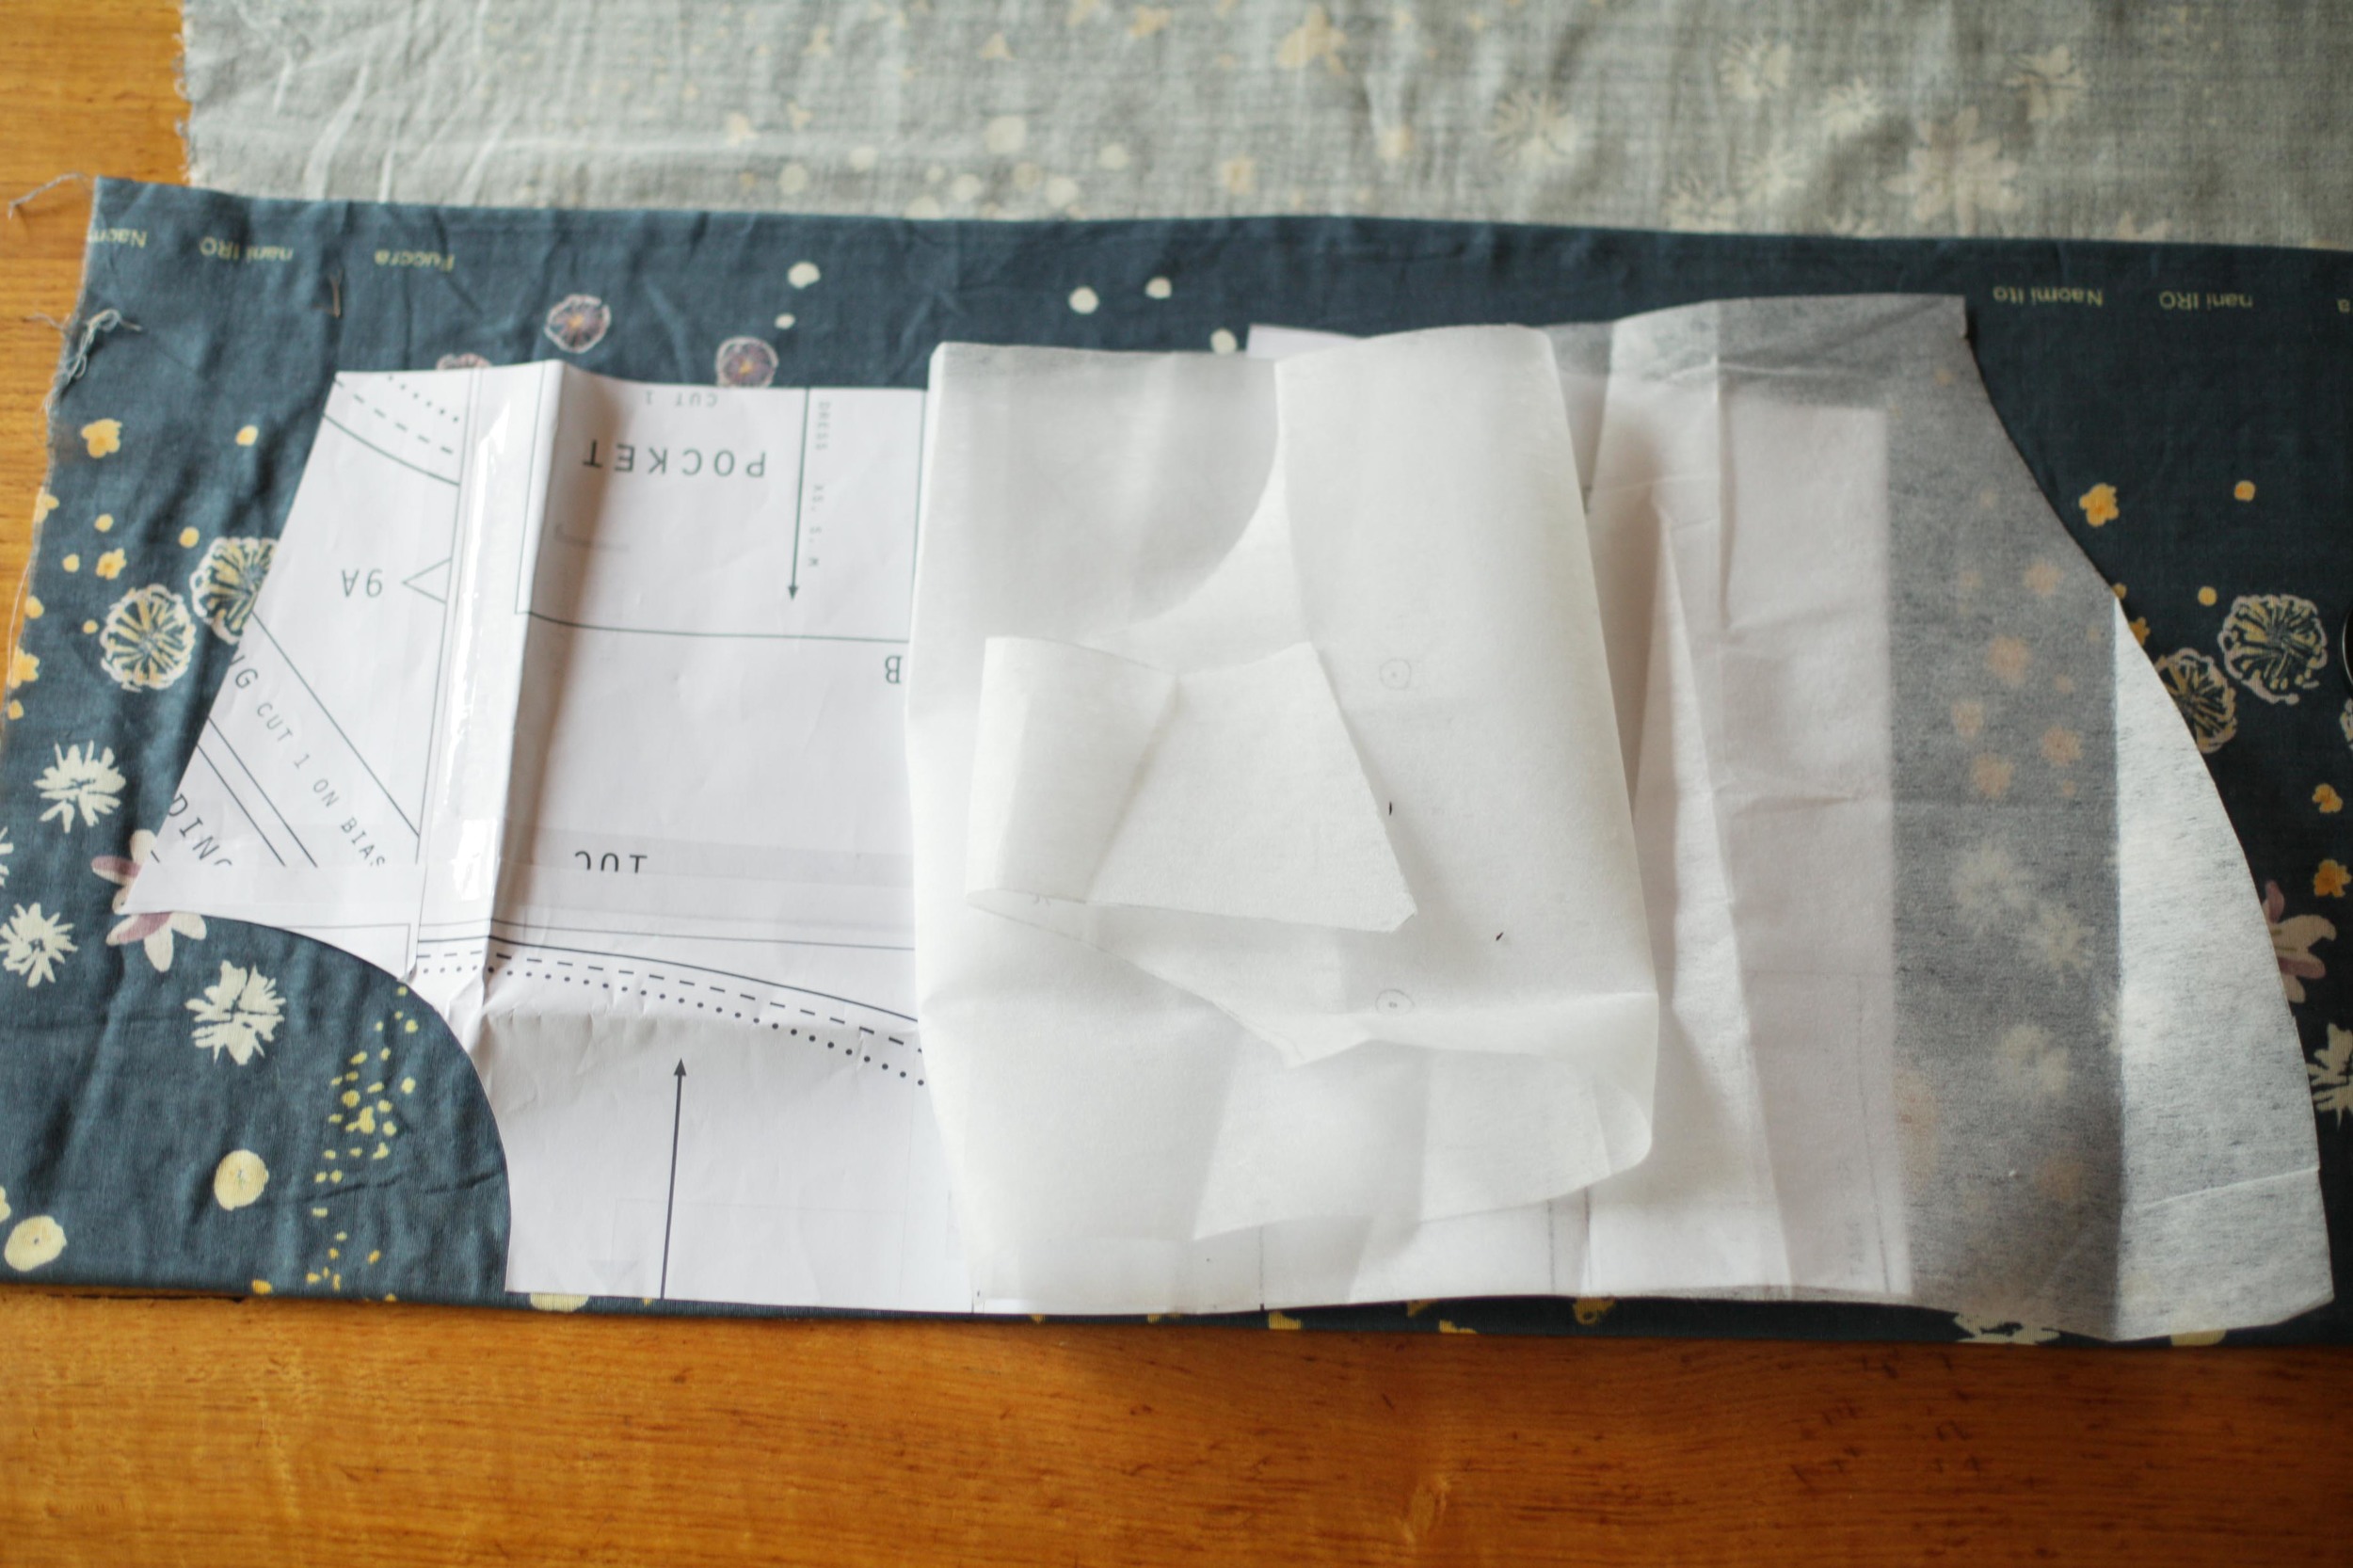
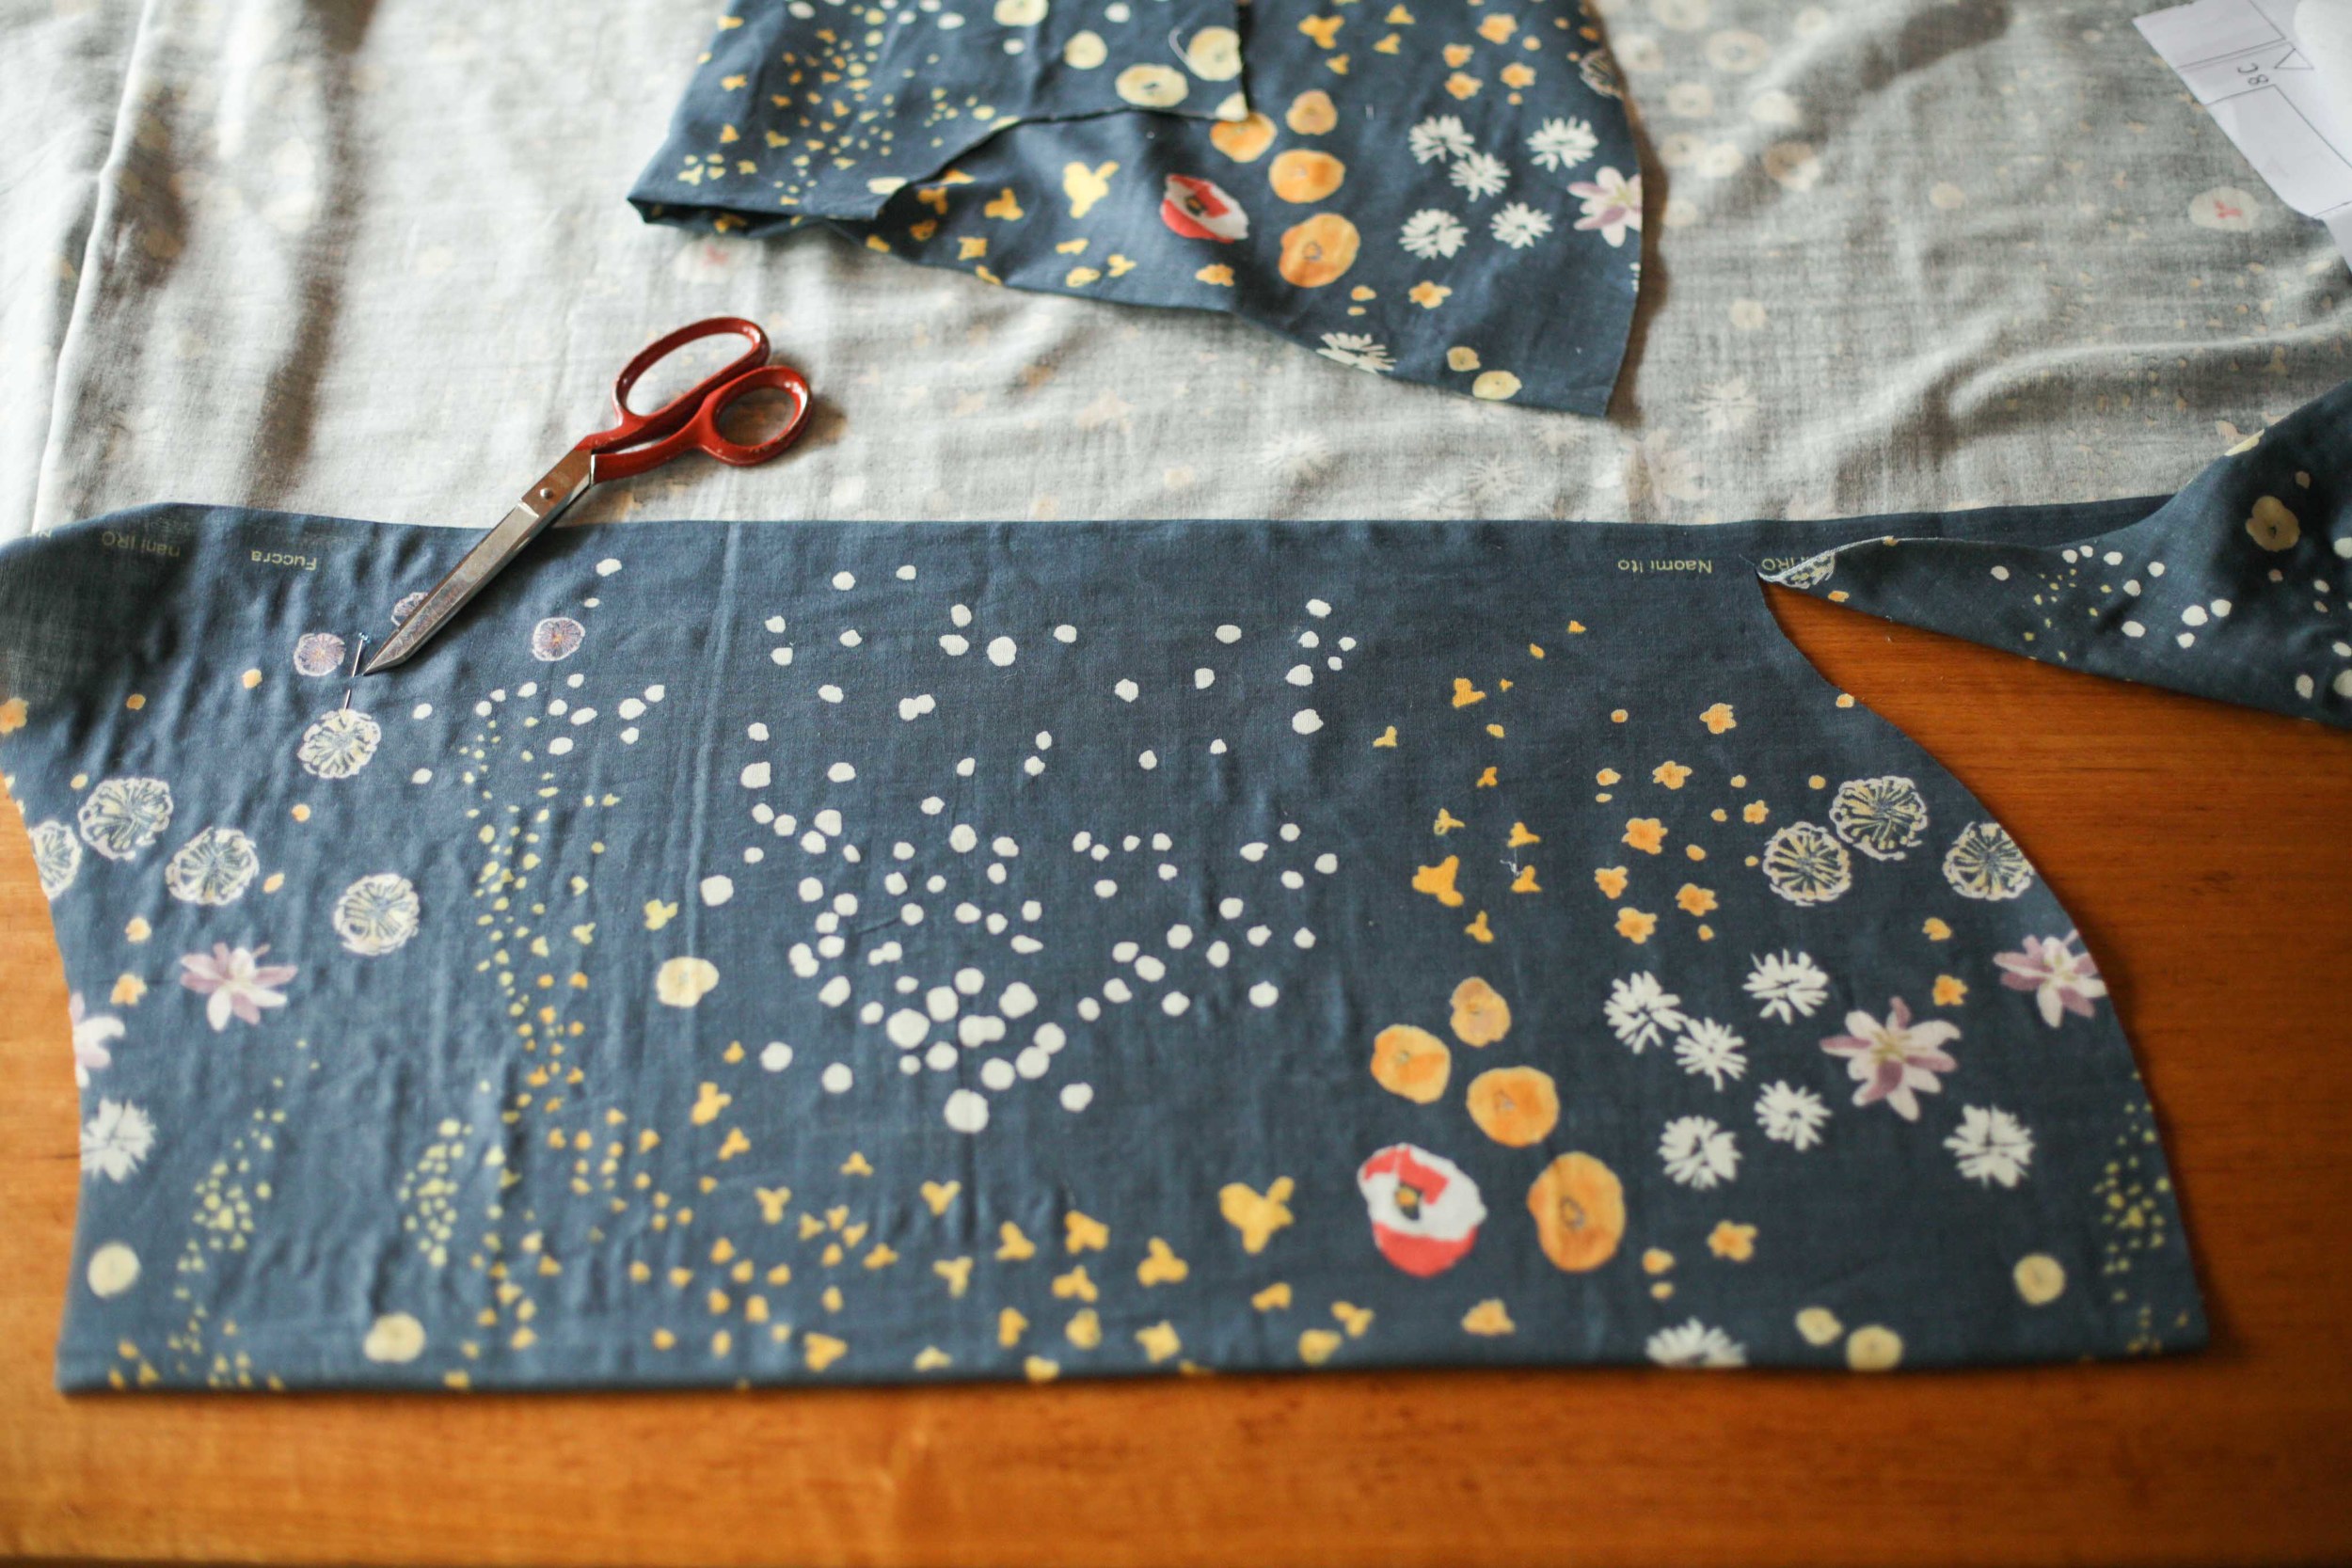
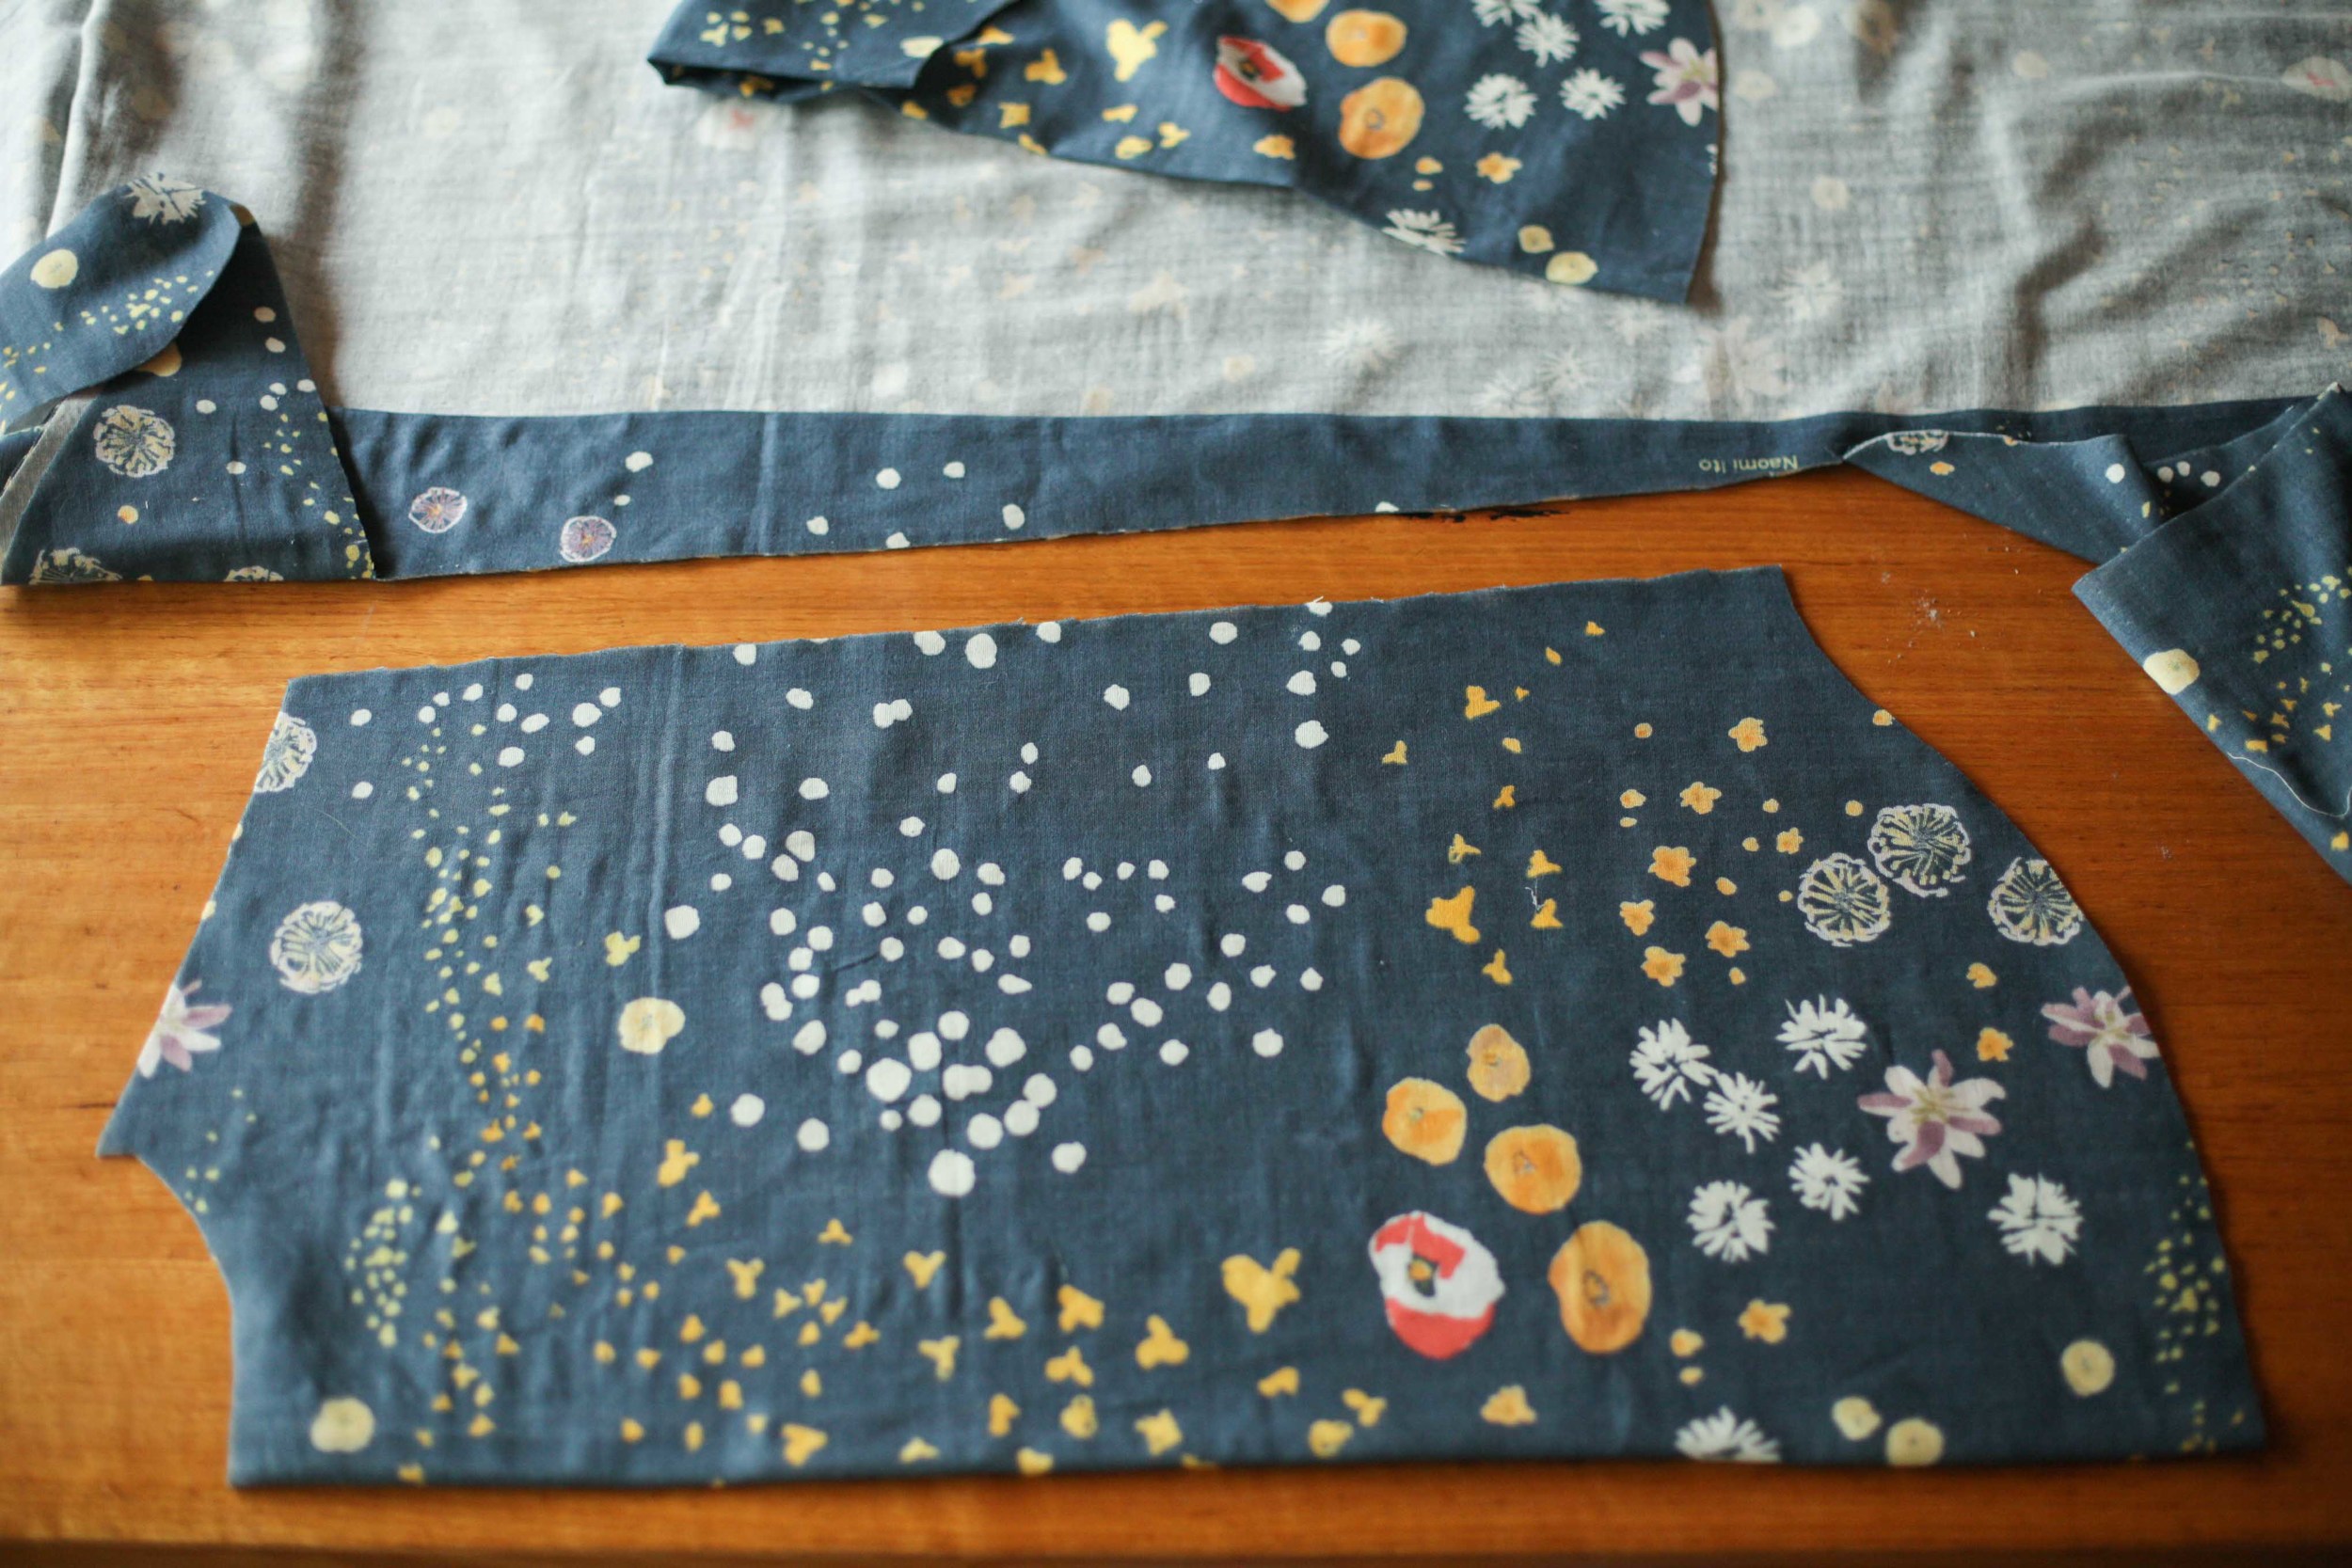
An Example - James III
James III is the sweater that inspired this post. I got to the end of knitting it and finished the band only to block it and realise that the flipping (which sometimes will block out!) was extreme. I ripped the band out, put the zillion stitches back on the needle and started again. I did a combination of Trick 1 and Trick 2. I changed my needle size from a 3.75mm to a 3.25mm on the first row of rib and also did a repeat of [k2tog, k1, p2, k2, p2] which means that I decreased one stitch every 9 which is roughly 10%. It isn't perfect but it is much much better.
I'm happy to answer questions if you have them? And would love to hear if you have any other tricks you use?
And if you don't then here is wishing you a hem-flip-free future.
Felicia x