My first four Scout Tees
Yesterday's post was headed with an image of a Scout Tee but I'm so excited about this top I just had to run with it today also. Today's Best Of is the Scout Tee that came out of Grainline Studio a few years ago. We ran a workshop on this tee at our September 2014 Retreat - always a pretty good indication of my love of something - but this has to be one of my all time favourite grownup patterns. I have four in my wardrobe that are everyday clothes for me, and there are now hundreds of versions of it on the web for you to peruse for inspiration*. They are now my goto top, as an alternative to the knit t-shirts of my younger years.
As always - let's talk about why I have such a deep love for it.
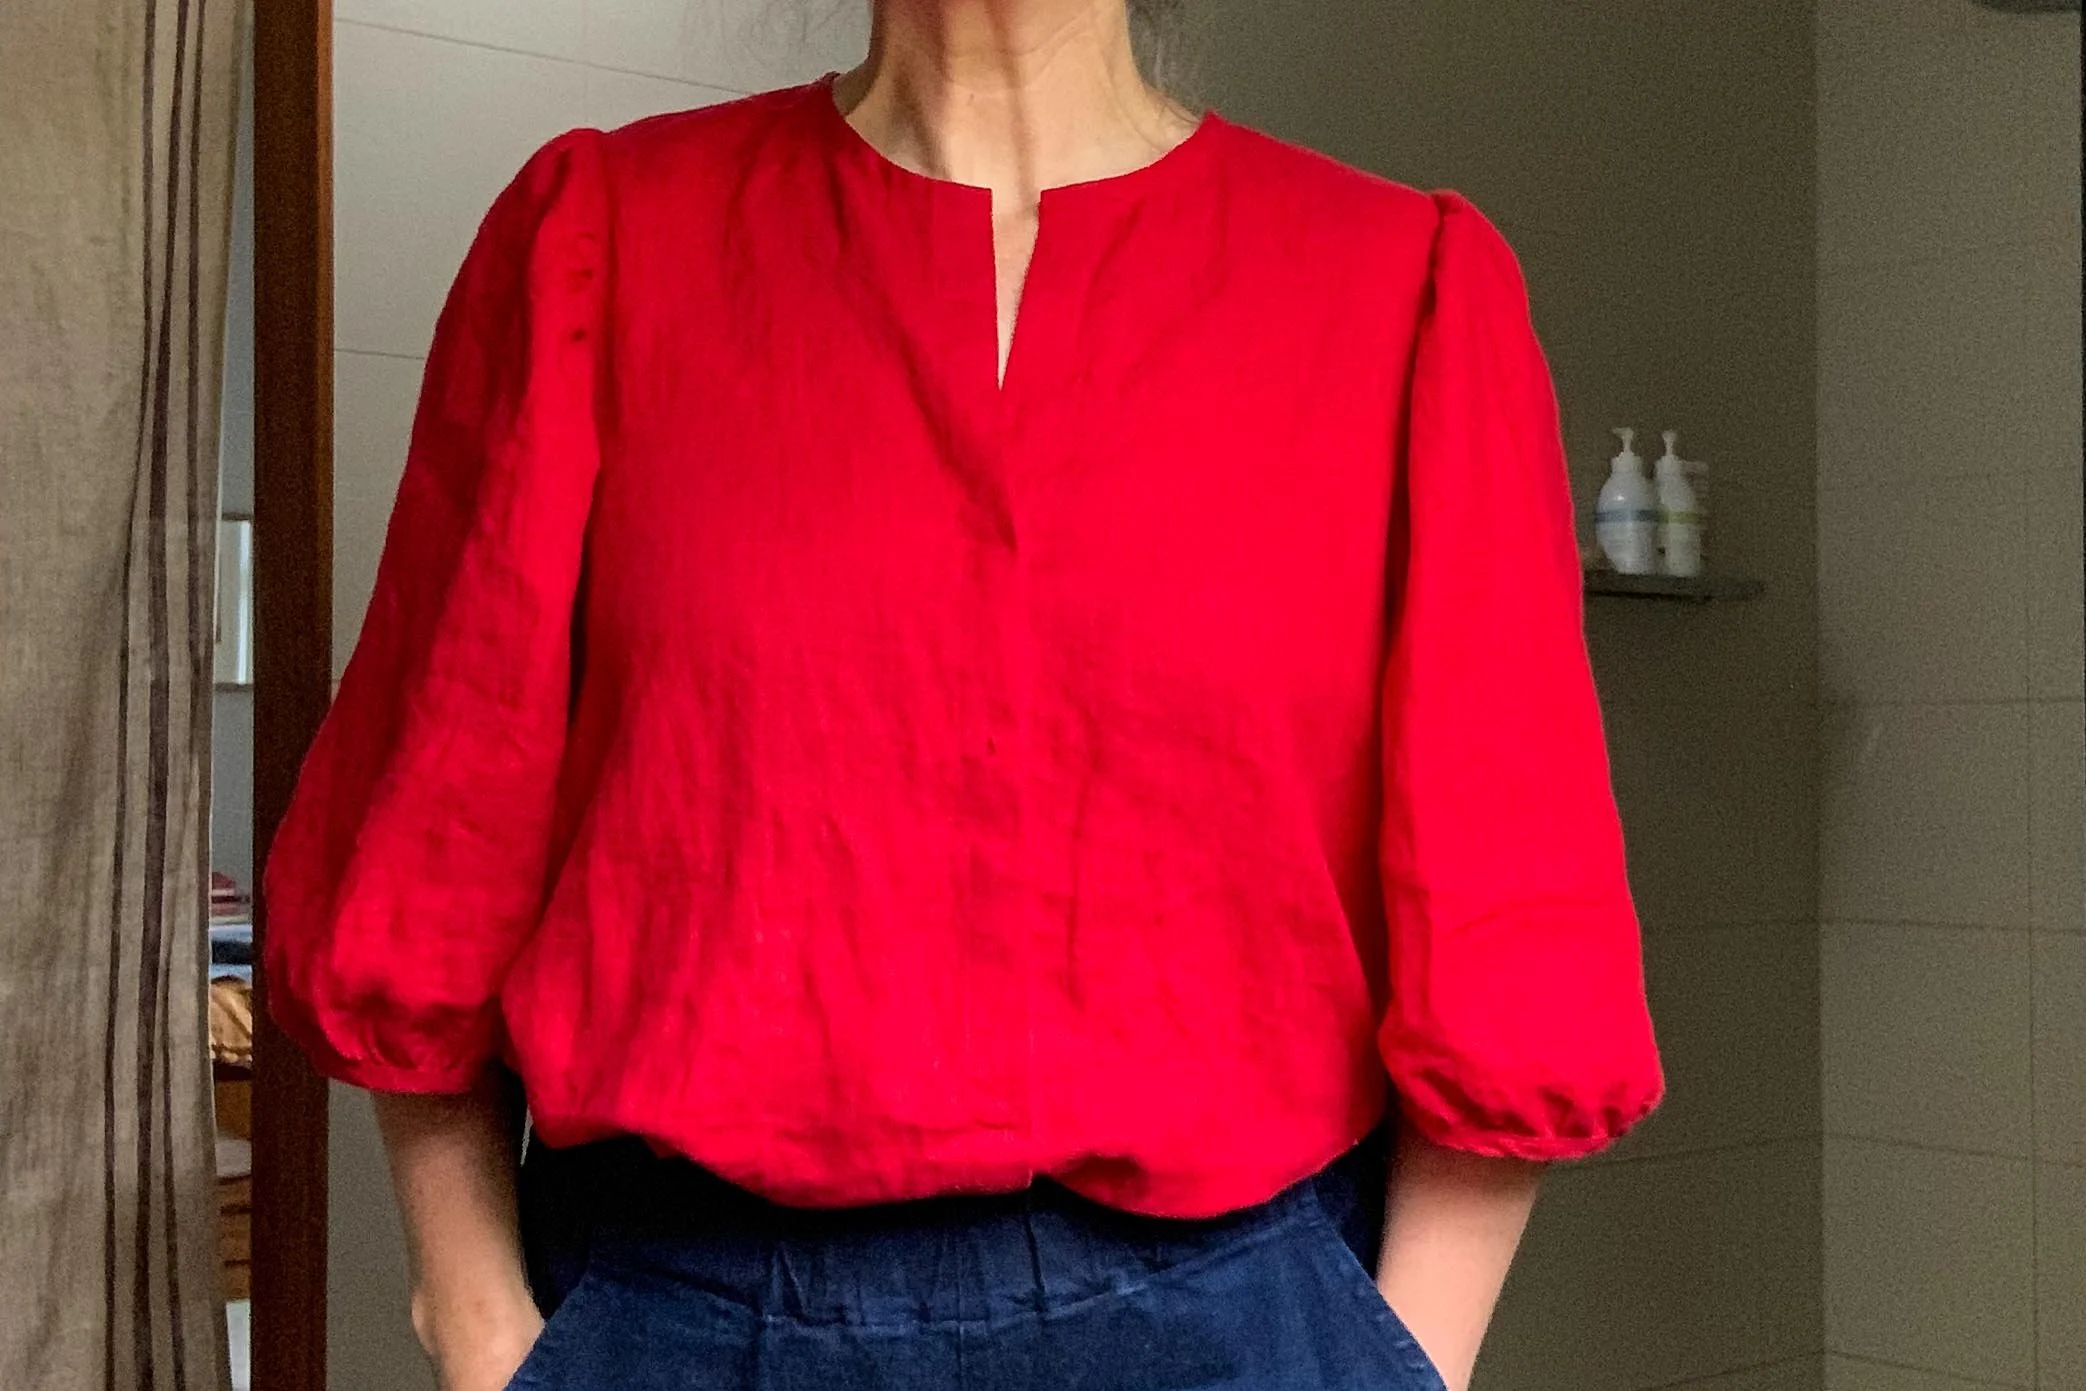
But quickly before we do let's have a quick chat about today's photos. Please be aware these shirts are not shown in their best "light" - I just don't want to put you off. It was a last minute decision to talk about them today, mainly because I am so excited by my new one. The light was fading. I haven't ironed them. I asked my partner to quickly take the photos, as they were tricky for me to capture with my normal mirror tricks. He was cooking dinner at the time and did a small amount of c@#^#$@ing. The Nani Iro blue/green stripe one is caught on the singlet I have underneath, and is stuck on the left boob giving it a weird shape but I couldn't get another photo. I did my best under the circumstances ;).
Nani Iro Size 6 (so 10 Aus).
Grey check from Tessuti I think in a Size 8 (so 12 Aus).
Flattering to nearly everyone.
I have seen this made up by people of many different shapes and sizes and it seems to suit most people. It fits really well around the shoulders - if you get the sizing right - and has a slight a-line flare to it that skims over your middle without swamping and it covers the I've-had-three-babies-squishyness. I love the shape.
Sizing is forgiving
The Nani Iro stripes on the left is a size 6 (so 10 Aus) and the grey is a size 8 (so 12 Aus). While the grey one is actually too big across the shoulders, it still fits and looks great, I think in part because the fabric is very light, but also because of the forgiving nature of the pattern. I now make a 6.
Comes together quickly and easily
There are no darts or buttons or zips or anything tricky at all really. A front, back and two sleeves. Sew the front to the back, put binding around the neck, insert the sleeves, hem the sleeves and hem the bottom. I can make one in a couple of hours and get years of joy. What is not to love.
Great for beginners
Due to the "comes together quickly and easily" point, it is great for beginners. Jen has put up a wonderful tutorial on her site about how to do the neck binding that I recommend for any binding anywhere. Understitching is the ace-est bit of sewing you may ever do. This is the method I now use when making the Wiksten Tank for the neck and the sleeves. No rolling and perfectly flat. If you are a beginner just remember to tuck the raw edge all the way to the seam line. This gives you an even binding all the way around the neck.
Inside out to show you the spectacular binding.
Finished beautifully
Due to the binding. And you can easily french seam the sides if you want to.
Easily modifiable.
I now modify mine to suit my personal preferences. I like a slightly less square neckline which means that I move the neckline at the shoulder seam about a cm or so towards the arm. A very simple adjustment. I then measure the extra bias I would need by measuring the existing neckline and my new neckline and calculating the difference. The bias for my altered version is normally about 2cm more.
On the last one I made I made it a tad shorter after seeing Belinda's (beautiful Nani Iro) version at The Craft Sessions. I chopped about 1inch off the bottom which seems to work better on me as I am only 5' 4.75" tall. And longer sleeves using Jen's tutorial. I am totally loving this sleeve length. It looks "modern" :).
Awkward pose to show you how nice the sleeve cap is.
My liberty version was different again as I made a longer dress-length one that has a scooped back hemline and I also did the full back adjustment on it. I think it makes it a little too full (in dress form) and less flattering (and more sack like) but we live and learn. It is super comfy and the fabric means it is pretty regardless. It isn't ironed in the photos below and looks worse that it looks in real life (I hope!) My lovely friend Christine made a super pretty one with a full back so go have a look at that instead.
Looking a bit like an unironed sack.
It does look a bit better in real life I think :).
It also looks great with a different back. My Nani Iro one is backed with linen as I only had a tiny piece which was enough for the front and sleeve fabric. There are also some posts on Grainline about making a knit version of the Scout Tee if that takes your fancy.
Incredibly wearable
This pattern is the perfect everyday staple, especially my linen one and the grey one. I'm now thinking I might make a half sleeve chambray one next. Maybe with a pocket, or some random stitching a-la-boro style around the neck, or maybe stitching on the pocket….ooooh that sound pretty. That said, the pattern's simplicity also lends itself to a super loud print.
So go make one. You know you want to.
And a big shout out to the wonderful Jen from Grainline for coming up with the goods. Grainline is a pattern range that is full of patterns that are incredibly well written and thoughtful. Her website is a treasure trove of sewing tutorials, pattern tutorials and all manner of helpful info. The woman has style.
Felicia x
*I couldn't get the link for some reason but you should do your own google images search for the Scout Tee to see many many more.


