• The CraftSessions Story
  • Our Past Retreats
  • Blog
  • Newsletter
  • Contact
Menu

The Craft Sessions

Street Address
City, State, Zip
Phone Number

The Craft Sessions

  • About
    • The CraftSessions Story
    • Our Past Retreats
  • Blog
  • Newsletter
  • Contact

Quilting - Patchwork Pattern Play

Spend the afternoon with Anna, learning basic patchwork skills and playing with pattern and colour.

Teacher: Anna Farago

Workshop Duration: Half Day

Description:  Starting with 16 squares, participants will learn how to prepare, cut and sew a simple half triangle block. You will then play and create options of patchwork designs by sketching designs and/or laying out possibilities with their 16 simple blocks. Once a final design is decided upon the 4x4 gridded design will be sewn ready for quilting or finishing off into a cushion cover. 

Materials: Fabric for cutting 16 squares of approx. 6”. We suggest a light, mid & dark shade of similar coloured fabric (could be slightly different textures) and one that is quite different like a bright colour or a patterned fabric (this could be a scraps). To have ample fabric to play with, we suggest about ½ metre of each different fabric choice. Rotary cutter and cutting matt (if you have them). Greylead pencil and a ruler. Sewing machine.

Takeaway: A patchwork cushion top ready to be made up, quilted or used as part of a larger piece. 

Level:  Beginner / Advanced Beginner / Intermediate. You must be able to sew a straight seam.


FeliciaSemple-3.jpg
FeliciaSemple-1.jpg
FeliciaSemple-2.jpg
FeliciaSemple-5.jpg
FeliciaSemple-6.jpg
FeliciaSemple-8.jpg

Knitting - Your first Sock

Delicious on the feet, and great as gifts. Sock knitting is where it is at. After spending a few hours with Ophelie learning the ins and outs, you will have them totally sorted. 

Teacher: Ophelie Lechat

Workshop Duration: Half Day

Description:  This class will walk you through the full sock making process: working the cuff, leg, heel flap, heel gusset, foot and toe. This will be done by knitting a half-size sock (the resulting sock will fit a child). 

Students will start by casting on for their sock (and learning how to knit in the round if you haven’t yet). While everyone is working on the cuff and leg, we will cover sock anatomy, yarn choice, needle choice, and decorative options.

We’ll then work the heel flap and turn the heel before knitting the gusset, the foot and the toe, finishing with either a Kitchener toe. 

Materials:  Students will need approximately 100g of 10ply yarn and a set of four 4.5mm double-pointed needles.

Takeaway: Students will leave with the skills needed to follow a sock pattern, and with a finished (or nearly finished!) half-size sock.

Level: Advanced Beginner/Intermediate.  Students need to be able to knit, purl, and decrease confidently. Skills such as picking up stitches and working on DPNs will be taught during the class. 

FeliciaSemple_Sock-4.jpg
FeliciaSemple_Sock-2.jpg
FeliciaSemple_Sock-1.jpg
FeliciaSemple_Sock-3.jpg
FeliciaSemple-3.jpg

Quilting - Handquilting

Learn the basics of hand quilting, playing with design to create a beautiful cushion top or wall hanging.

Teacher: Anna Farago

Workshop Duration: Half Day

Description:  The workshop will start with the essentials of how to prepare and secure the layers of a quilt prior to getting started on the quilting. Once the layers are prepared, options for marking where to stitch will be shown and explained. Finally the hand stitching will be explained and demonstrated giving participants plenty of time to get their hand quilting technique worked out, practiced and applied. Binding will also be on the agenda. 

You can use a piece of whole cloth or if you went to Pattern Play on the Friday arvo you can use your patchwork top. 

Materials:  Fabric - either completed patchwork quilt top or a piece of fabric 21 x 21inches. Rotary cutter and cutting matt (if you have one). Greylead pencil and ruler
Perle 8 or sashiko thread. Long needle with large eye.

Takeaway: Depending on designs and stitching time, participants will leave with a near finished handquilted cushion top or wall hanging with the knowledge and instructions on how to finish it off. 

Level: Beginner/Advanced Beginner/Intermediate.

FeliciaSemple-3.jpg
20130904-214lowres.jpg
20130904-219lowres.jpg

Knitting - Intro to Lace

Knowing how to knit lace work opens up so many possibilities - gorgeous shawls, edges, lace panels. 

Teacher: Ophelie Lechat

Workshop Duration: Full Day

Description:  Learn to knit beautiful lace projects in this full-day workshop. We will create a lace cowl/scarf, perfect for those still-chilly days just before summer.

Students will learn to work a provisional cast-on, read a lace knitting chart, work yarn-overs and directional decreases, and select a fibre and yarn for their next projects.

Materials:  50g of heavy laceweight yarn (Shibui Cima is highly recommended, available at Sunspun and Woolarium), a set of 3mm 100cm Addi Lace circular needles (Addi Lace is mandatory, as other needles aren’t as well suited to working with fine yarn and lace patterns). 

Takeaway: By the end of the workshop, students will be confident with lace knitting techniques, and will have started work on their own lace project. 

Level: Advanced Beginner/Intermediate.  Students should be confident with knitting basics: knitting, purling, decreases, following a written pattern. 

FeliciaSemple_Lace-1.jpg
FeliciaSemple_Lace-3.jpg
FeliciaSemple-102.jpg
FeliciaSemple_Lace-4.jpg
FeliciaSemple-100.jpg
FeliciaSemple-101.jpg
FeliciaSemple_Lace-2.jpg

Dyeing - Natural Dyeing Using Native Australian Plants

Under the tutelage of Belinda Evans of Alchemy, learn how to prepare wool and silk yarn and fabric for natural dyeing, choose plant materials, and use those materials to dye with. 

Teacher: Belinda Evans

Workshop Duration: Full Day

Description: In this full day workshop, you'll learn how to prepare and mordant wool and silk textiles for natural dyeing to get the best colours from your natural dyes and help make them colourfast, how to collect and prepare native plant materials for yarn dyeing, and how to use those materials to dye wool and silk textiles.

We'll use foraged native Australian flora and simple equipment and ingredients that you probably already have in your kitchen to dye wool yarn. You'll be able to use the skills you learn at this workshop to dye wool and silk yarn and fabric in small or larger quantities to knit, crochet and weave with. The techniques you learn will work on any new or vintage wool or silk textiles so you will be able to create something new or bring new life to an old piece. We'll also go through keeping records of your dyeing to help you to achieve consistent colour results. 

Materials: Materials supplied: prepared wool yarn, natural dyeing equipment and locally foraged native Australian plant materials for you to dye with. There will be a materials cost of $25 for yarn and other dyeing materials and equipment 

Bring a pen, notepad and apron and wear warm clothing as we will be working outdoors for some of this workshop. Please note that natural dyes can stain clothing so make sure that you wear something that you wouldn't mind getting a few splashes of colour on. 

Takeaway: You'll take home samples of yarn and fabric that have been dyed in the workshop and detailed notes on the preparation, mordanting and dyeing process for wool and silk yarn and fabric. 

Level: This class is suitable for beginners and those with some natural dyeing experience who want to learn more. 

image-2.jpeg
Photo 1-02-2015 10 34 50 am.png
image.png

Spinning - A taster

Judy and Kate will work with you in this workshop to give you some hands on spinning time, allowing you to get a feeling for the yarn and the process.

Teacher: Judy and Kate James

Workshop Duration: Half Day

Description: This introduction to hand-spinning and an overview of tools you will need to spin your own yarn. The class will cover sourcing fleeces, quantities you will need for a project, quality of fleece as well as carding using hand carders and the drum carder. You will be taken through an intro to the wheel and basic set-up before starting to spin by using commercial wool then gradually switching across to fleece. Judy and Kate are also bringing books, fleeces from different animals, skeins/balls of different spun fibres and perhaps finished knitted garments/blankets etc for you to look through at the completion of the workshop. 

Materials: All materials will be provided.

Takeaway: Some hands on spinning experience and an understanding of the spinning process. 

Level: Beginner

FeliciaSemple_Spinning-1.jpg
FeliciaSemple-1.jpg
FeliciaSemple-4.jpg
FeliciaSemple-2.jpg
FeliciaSemple-5.jpg

Handwork - The Basics of Smocking

English smocking has been used since at least the seventeenth century to add shaping and elasticity to clothing.  Learn to embroider the traditional stitches while exploring how to use them to add textural interest to modern garments.

Teacher: Anna O'Brien

Workshop Duration: Half Day

Description:  In this introduction to smocking we will look at ways to use this centuries old embroidery technique in a contemporary context. The class will cover fabric and design choices for smocking and discuss how to modify patterns for simple garments to include areas of smocking. We will make a sampler, learning how to prepare and gather the fabric and create the smocking stitches. Class notes will include detailed instructions for modifying the ‘Alice’ pattern from Tessuti using your new smocking skills!

Materials: Materials are provided but participants need to bring a pair of small sharp scissors.

Takeaway: A small smocking sampler created by you!  Ability to work smocking stitches and knowledge of how to incorporate the technique into garments.

Level:  Adventurous beginner /Intermediate. Some basic hand sewing or embroidery experience necessary.

IMG_3085.JPG
FeliciaSemple-2.jpg
FeliciaSemple-4.jpg
FeliciaSemple-5.jpg
FeliciaSemple-6.jpg

Knitting - For Speed and Comfort

Keen to speed up your knitting, use both hands for colourwork or give your dominant hand a break? This class is for you!

Teacher: Julia Billings

Workshop Duration: Half Day

Description:  This class is all about increasing your options for how you hold and work with your needles and yarn. There is no “best” way to knit, only what meets your needs for any given project, and you should come away feeling confident to use a combination of knitting styles.

You’ll be guided through the major differing styles- English, Continental, Portuguese and Lever- and learn the pro and cons of each. This session is completely hands-on to allow you to practice and fine-tune each of the various styles. It should also be an opportunity to observe and learn about the styles of those knitting around you! 

Materials:  Please bring 50gm of 8-10ply yarn and both your preferred style of needles and (if they are not straight) a pair of straight needles (30-35cm) in the corresponding size. 

Takeaway:  Students will take away the knowledge and confidence to work a variety of different knitting styles, as well as comprehensive notes on the techniques covered.

Level:  Adventurous beginner/ Intermediate. You must be able to easily cast on and off, knit and purl.

FeliciaSemple_Speed-3.jpg
FeliciaSemple_Speed-1.jpg
FeliciaSemple_Speed-2.jpg

Sewing - Beattie Dress

Take your dressmaking to the next level while learning to make the gorgeous, super flattering Beattie Dress. 

Teacher: Beattie Lanser

Workshop Duration: Full Day

Description: Learn how to cut out a pattern, sew darts, raglan sleeves, invisible zipper, elastic sleeve casings, neckline binding and pleats.  In this class you will learn to cut and sew an original Beattie Lanser Dress in your size all in a 6 hour workshop with fashion and textile designer maker Beattie Lanser. She will guide you through the tricks to make darts, pleats, raglan sleeves and elasticated cuffs. You will learn how easy it is to insert an invisible zipper, the easiest of all the zippers! You will also learn to make your own binding to create a simple yet beautifully finished neckline that you can use on other designs.

Materials:  3m light cotton drill or linen, Scissors, pins, 1 x safety pin, sewing machine, snips or small cutting scissors, invisible zipper foot (if you have already) 1m of 20mm elastic, 1 x 50cm Invisible zipper, 3m of cotton or Linen.

If you would like a kit of fabric and all sewing acsesories please advise us via email. Fabric Choice: blue chambray cotton, or black/Navy cotton Drill $50

Takeaway: You will need to choose S, M L pattern which you will get to take home with you at the end of the class.

Level: Advanced Beginner/Intermediate.  You need to be able to sew a seam and a basic understanding of basic pattern cutting. 

IMG_8880_2.JPG
IMG_8881.JPG
images2.jpg

Weaving - Make a Wall Hanging using Naturally Dyed Yarn

Weave your own beautiful wall hanging with naturally dyed yarn. Create your own unique woven wall hanging using traditional weaving and tapestry techniques and yarns hand dyed with foraged native Australian plants. 

Teacher: Belinda Evans

Workshop Duration: Full Day

Description: In this day long workshop you'll learn how to create your own unique wall hanging, focusing on freestyle tapestry weaving techniques. You will learn about the different types of weaving equipment, how to warp a loom and create lines, shapes, patterns and textures.

You'll start by going through the different tapestry weaving equipment and terminology, and move on to learning how to set up your loom to get the best results.

Then, using beautiful Australian yarns that have been hand dyed using foraged native Australian plants, you'll use tapestry weaving techniques to create your own wall hanging.

You'll have time to work on your own piece, and there will be time to get one on one assistance with your piece as you need it.

Materials: There will be a materials cost of $35.The materials kit will include a quality wooden weaving loom and accessories (to take home). Naturally dyed yarn and other weaving materials will be supplied on the day. 

Optional: bring your own inspiration material (artworks, photograph, flora), and your own special yarns to weave with. 

Takeaway: At the end you'll have your own wall hanging, a wooden loom, weaving accessories and beginner's weaving guide so that you can continue to weave many more pieces. 

Level: Beginners. No prior knowledge is needed for this class.

image.jpeg
image.png.jpeg
workshop7.JPG
workshop6.JPG
workshop5.JPG
Photo 10-11-2014 2 54 19 pm.jpg

Knit Design - The Beauty Of Circular Yokes

Circular yokes are the perfect simple seamless garment, but are often over-shadowed by their more popular cousin, the raglan yoke. In this class, we will explore the beauty and possibilities imminent in a circular yoke as together we knit a wee baby sized cardigan.

Teacher: Georgie Hallam

Workshop Duration: Full day

Description: Our cardigan will be knit top-down and explore some of the principles of seamless knitting. We will explore three different yoke increasing options and how they can create different effects, learn how to work fabulous integrated button bands, experiment with different options for working sleeves, master picking up stitches proficiently and finishing underarms expertly. All these skill will be completely transferable to your other knitting and will help you achieve a more professional finish with any pattern.

As we knit together, we will discuss the basic theory and formulas used in constructing a circular yoke. We will look at, once youʼve mastered the basic structure, how you can work additional techniques such as lace, cables and colourwork into the yoke.

Materials: Pattern will be supplied by Georgie. You will need to bring approximately 100g of 8ply/dk weight yarn. (The sample garment shown is knit in White Gum Wool). You will also need 60-80cm circular needle in 4mm size OR size required to achieve tension of 22 stitches and 30 rows/ over 4 inches. (Yes, it is your homework, to swatch before class!)

You will also need your preferred option for small circumference knitting in the same needle size as above: one long circular for magic looping, two circulars, double pointed needles, or even teeny 20cm circulars. You will have the opportunity in class to try other techniques.

Takeaway: A new pattern from Georgie as well as the yoke - at least of your new cardigan.

Level: Advanced Beginner to Intermediate. Participants must be able to confidently knit and purl, execute a long-tail cast-on and have an understanding of increasing and decreasing. 


FeliciaSemple-100.jpg
craftsessions-1.jpg
The CraftSessionsWorkshop10.jpg

Embroidery - 101 Project Bag

Melissa of Tiny Happy will work with you to stitch botanical designs onto linen then sew them up into one-of-a-kind ‘project bags. 

Teacher: Melissa Wastney

Workshop Duration: Full Day

Description: These drawstring bags will measure about 12” x 12” and feature your beautiful embroidery on the front. Your unique bag will be just the thing for keeping your knitting or crochet project around. Or perhaps for storing embroidery supplies or a camera. They would also make a very special gift. Full embroidery instruction will be given, and Melissa will have a selection of coloured threads, needles and hoops to play with if you need them.

This class is similar to the freeform ‘embroidery from the natural world’ class but has a little more structure in that students will be able to choose from a selection of my botanical designs. These will be iron-on transfers that you can apply to your linen then embroider over.

In the afternoon, you’ll construct the bags with the help of sewing machines. You might have time to make more than one, depending on how quickly you stitch.

Materials: Medium-weight linen in a light shade (so the transfer ink will show up) - 1/2 metre. Lightweight cotton fabric (printed lawn or voile is especially good) for lining (1/2 metre). Embroidery threads in your favourite colours (six-strand floss is easiest to use). Hand-sewing needle, embroidery hoop, thread scissors, dressmaking scissors and sewing thread. One metre of narrow ribbon or cord to match linen.

Takeaway: Your beautiful project bag, ready to use.

Level: Beginner

FeliciaSemple-1.jpg
FeliciaSemple_Embroidery101-1.jpg
FeliciaSemple-2.jpg
FeliciaSemple_Embroidery101-2.jpg
FeliciaSemple-3.jpg

Knitting - Fisherman's Knits

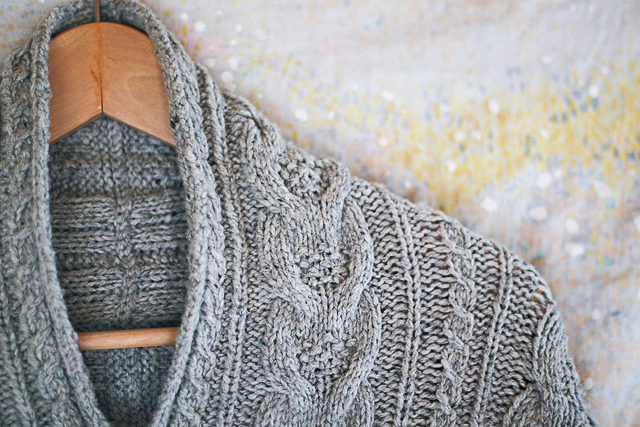
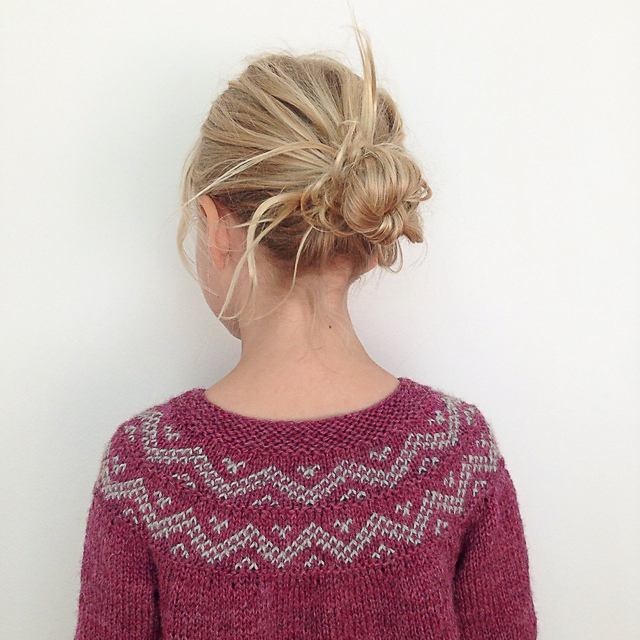
Explore the rich history and learn the how-to of beautiful British fisherman’s knits.

Teacher: Julia Billings

Workshop Duration: Full Day

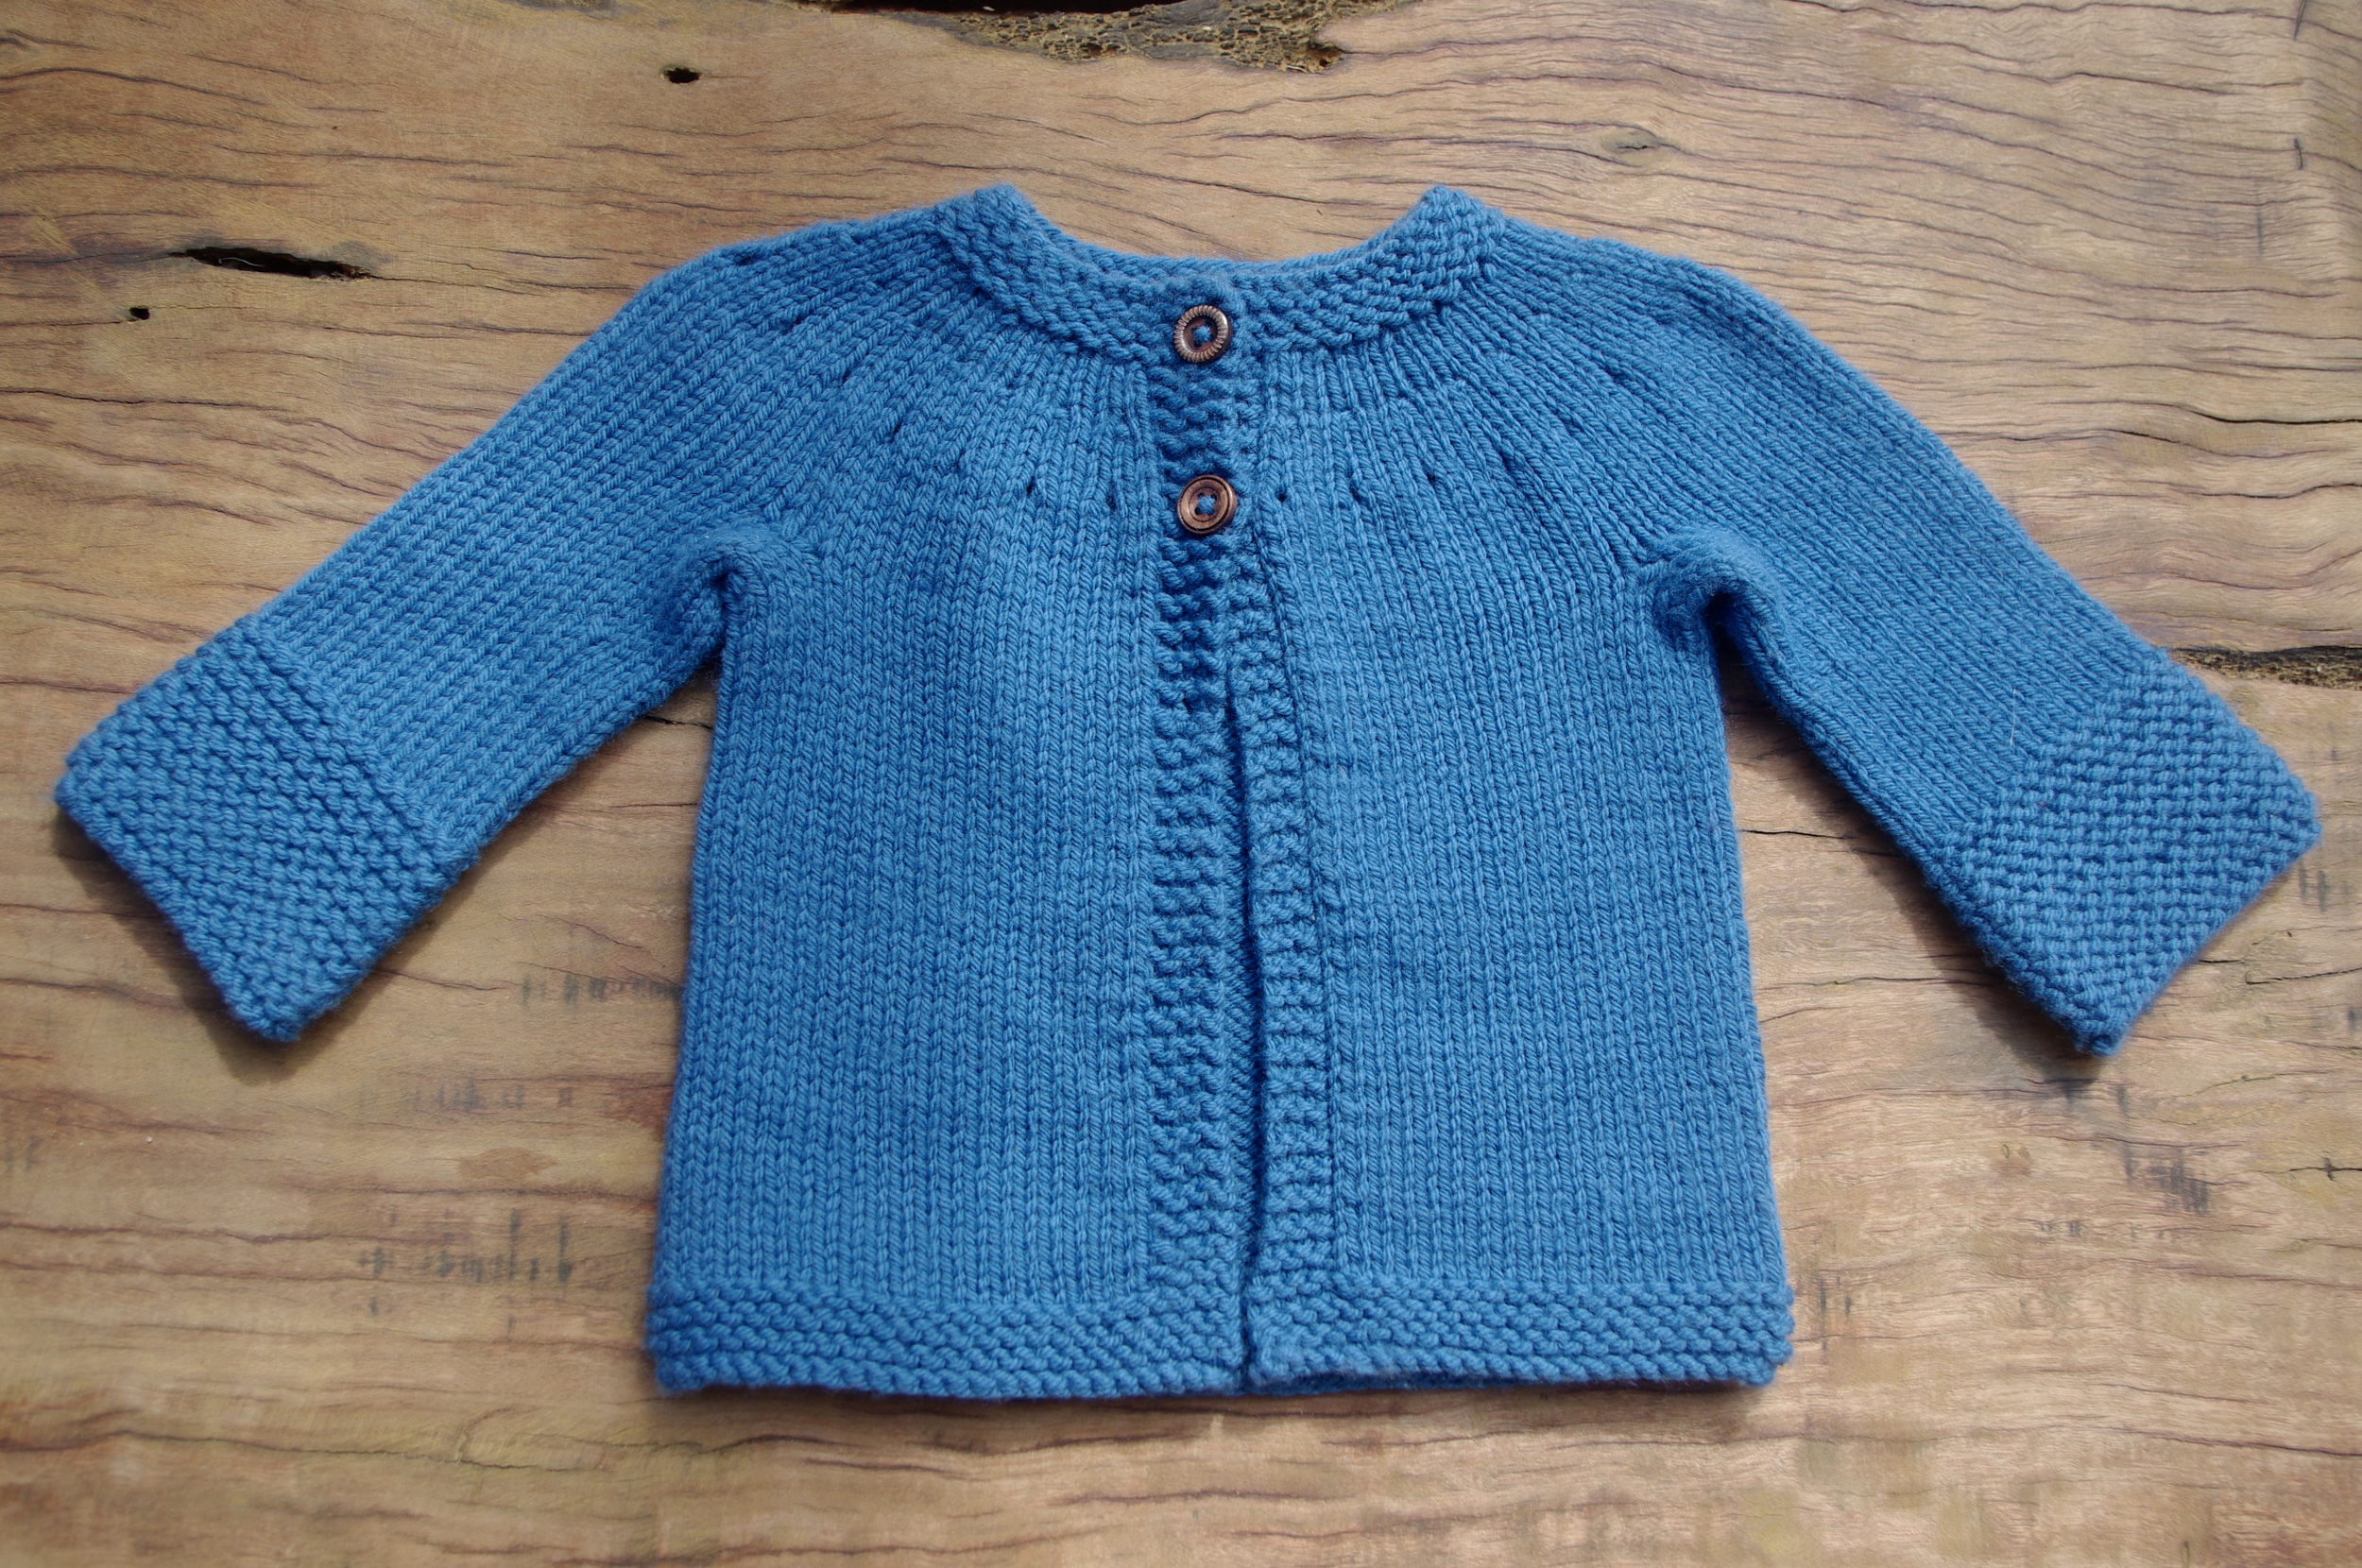
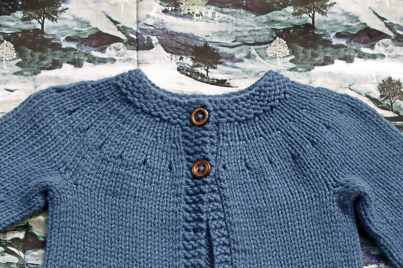
Description:  We’ll begin by delving into the history, regional styles and construction methods of that knitter’s hallowed ground, the fisherman’s jumper, and explore the elements that make it immensely practical and often very beautiful. We’ll take a look at both traditional and contemporary materials and how contemporary taste is altering the original shape, fabric and aesthetic.

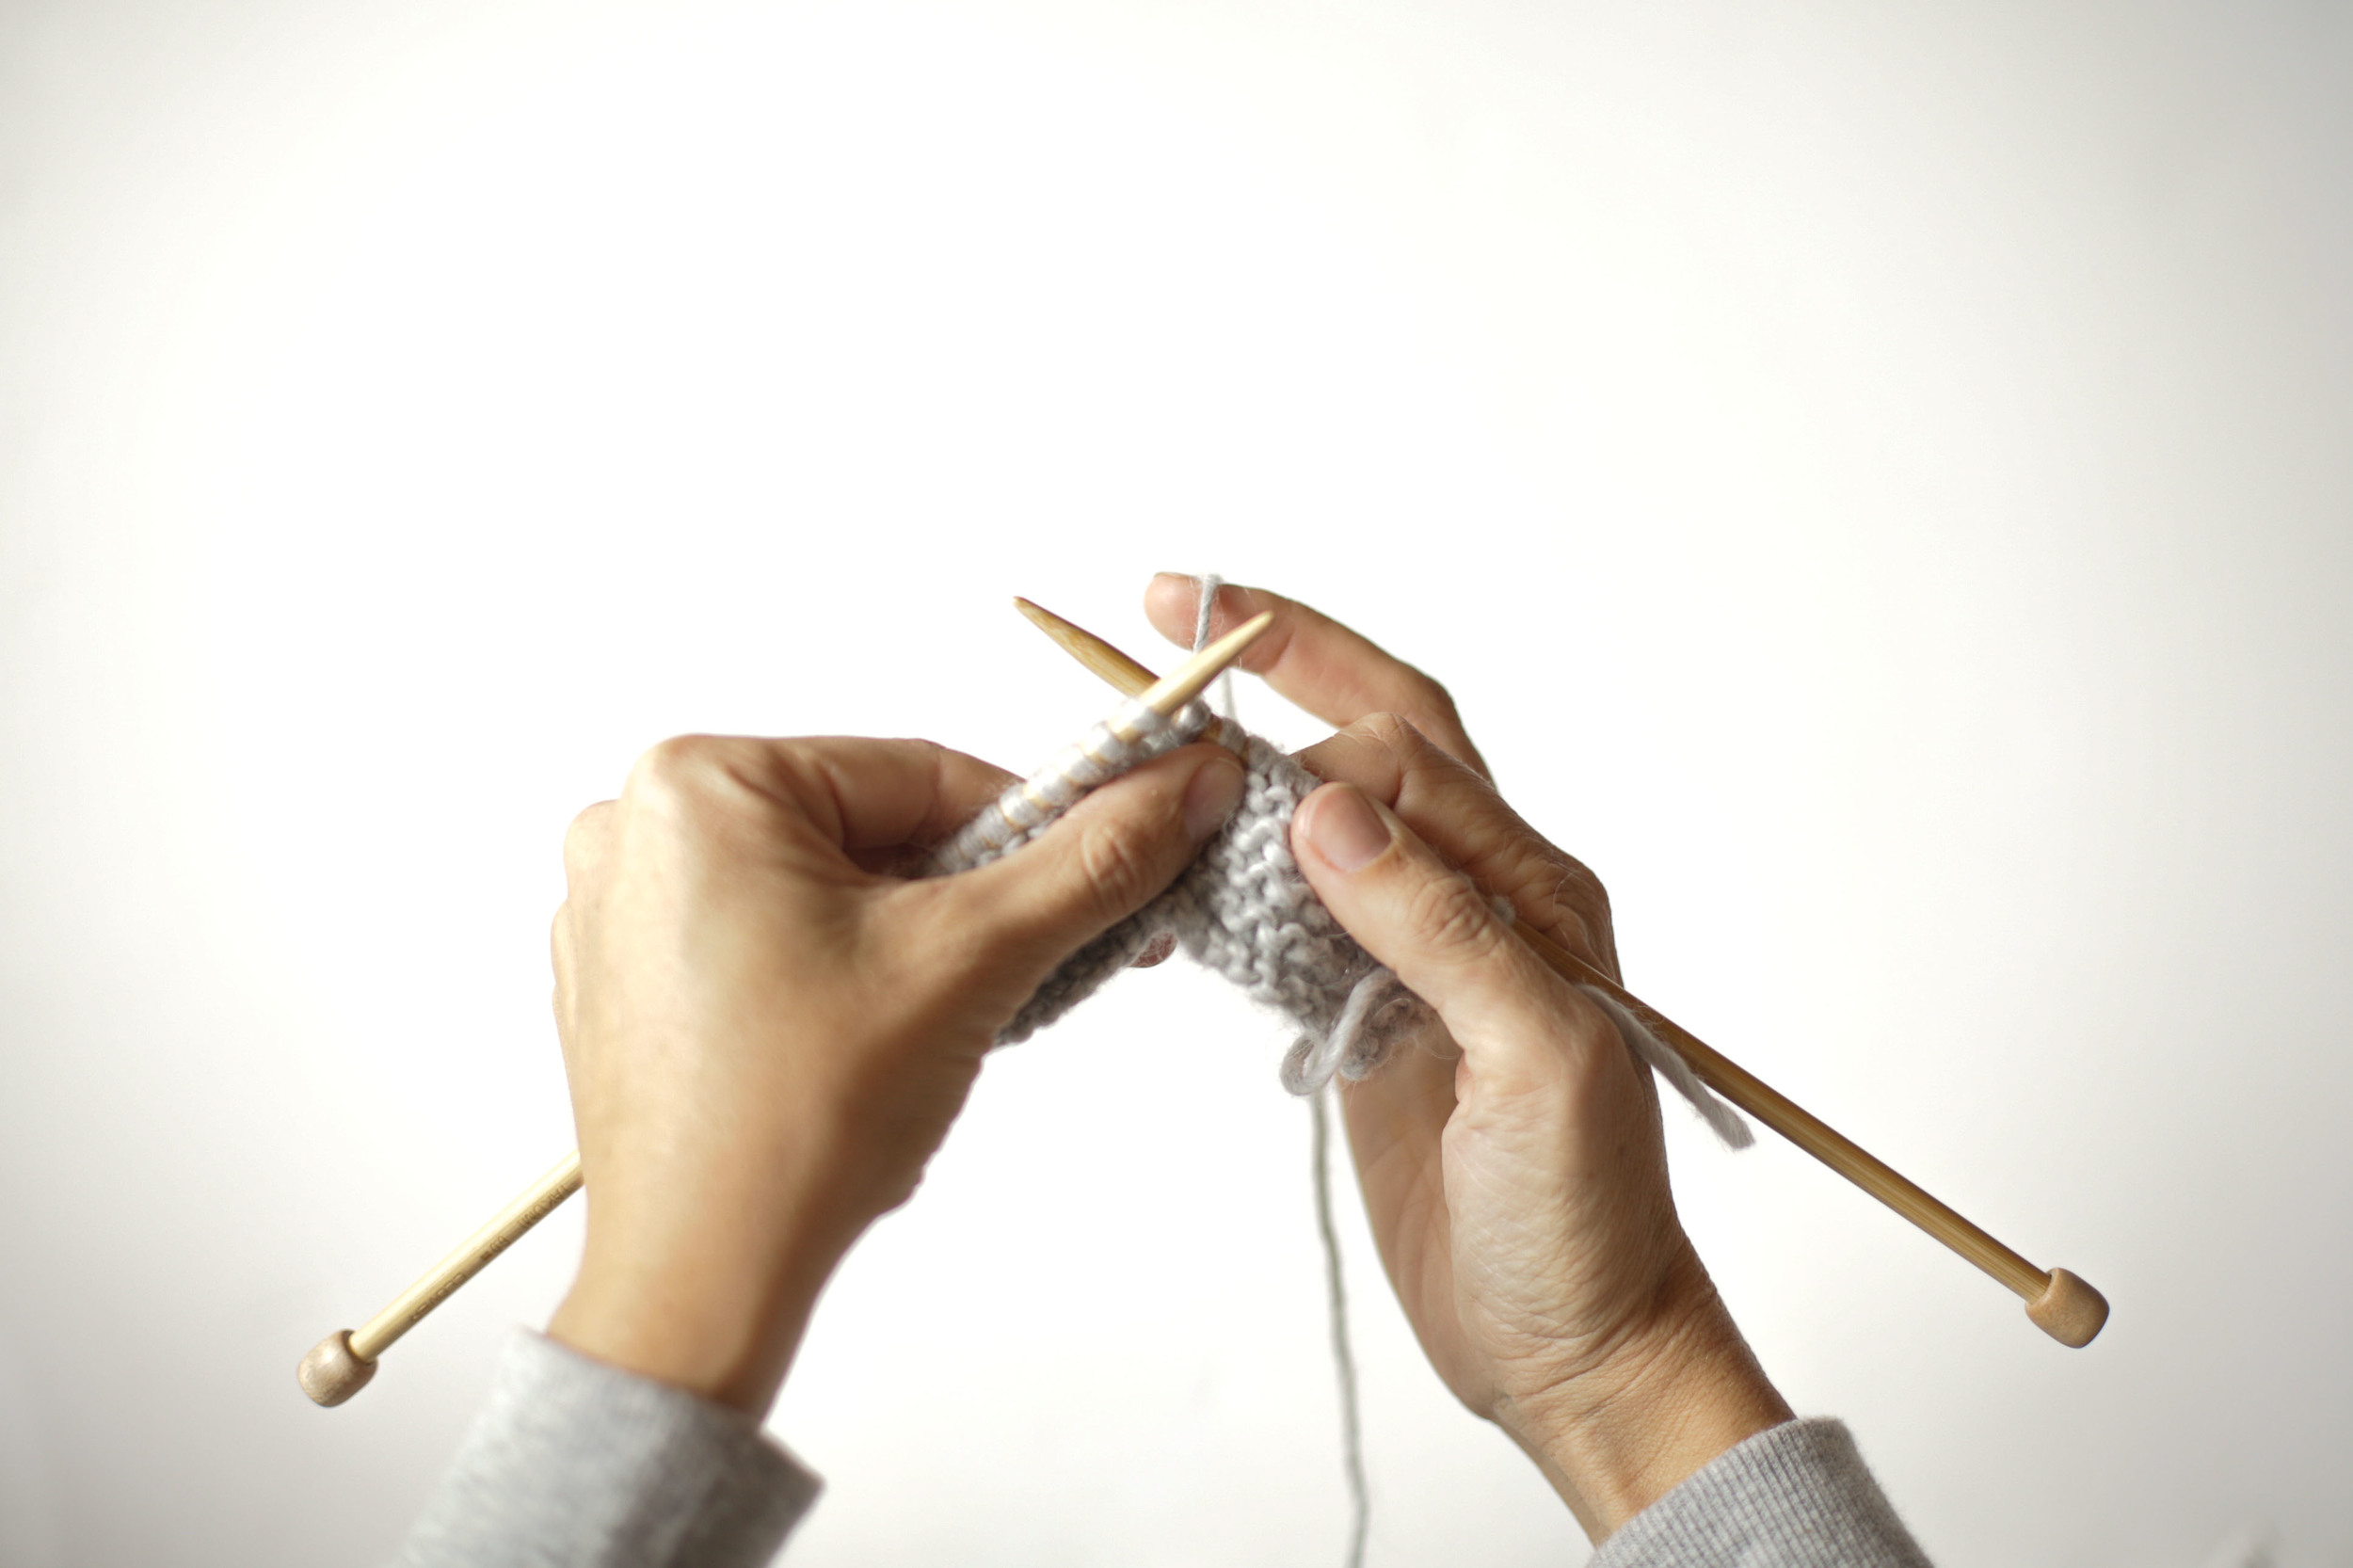
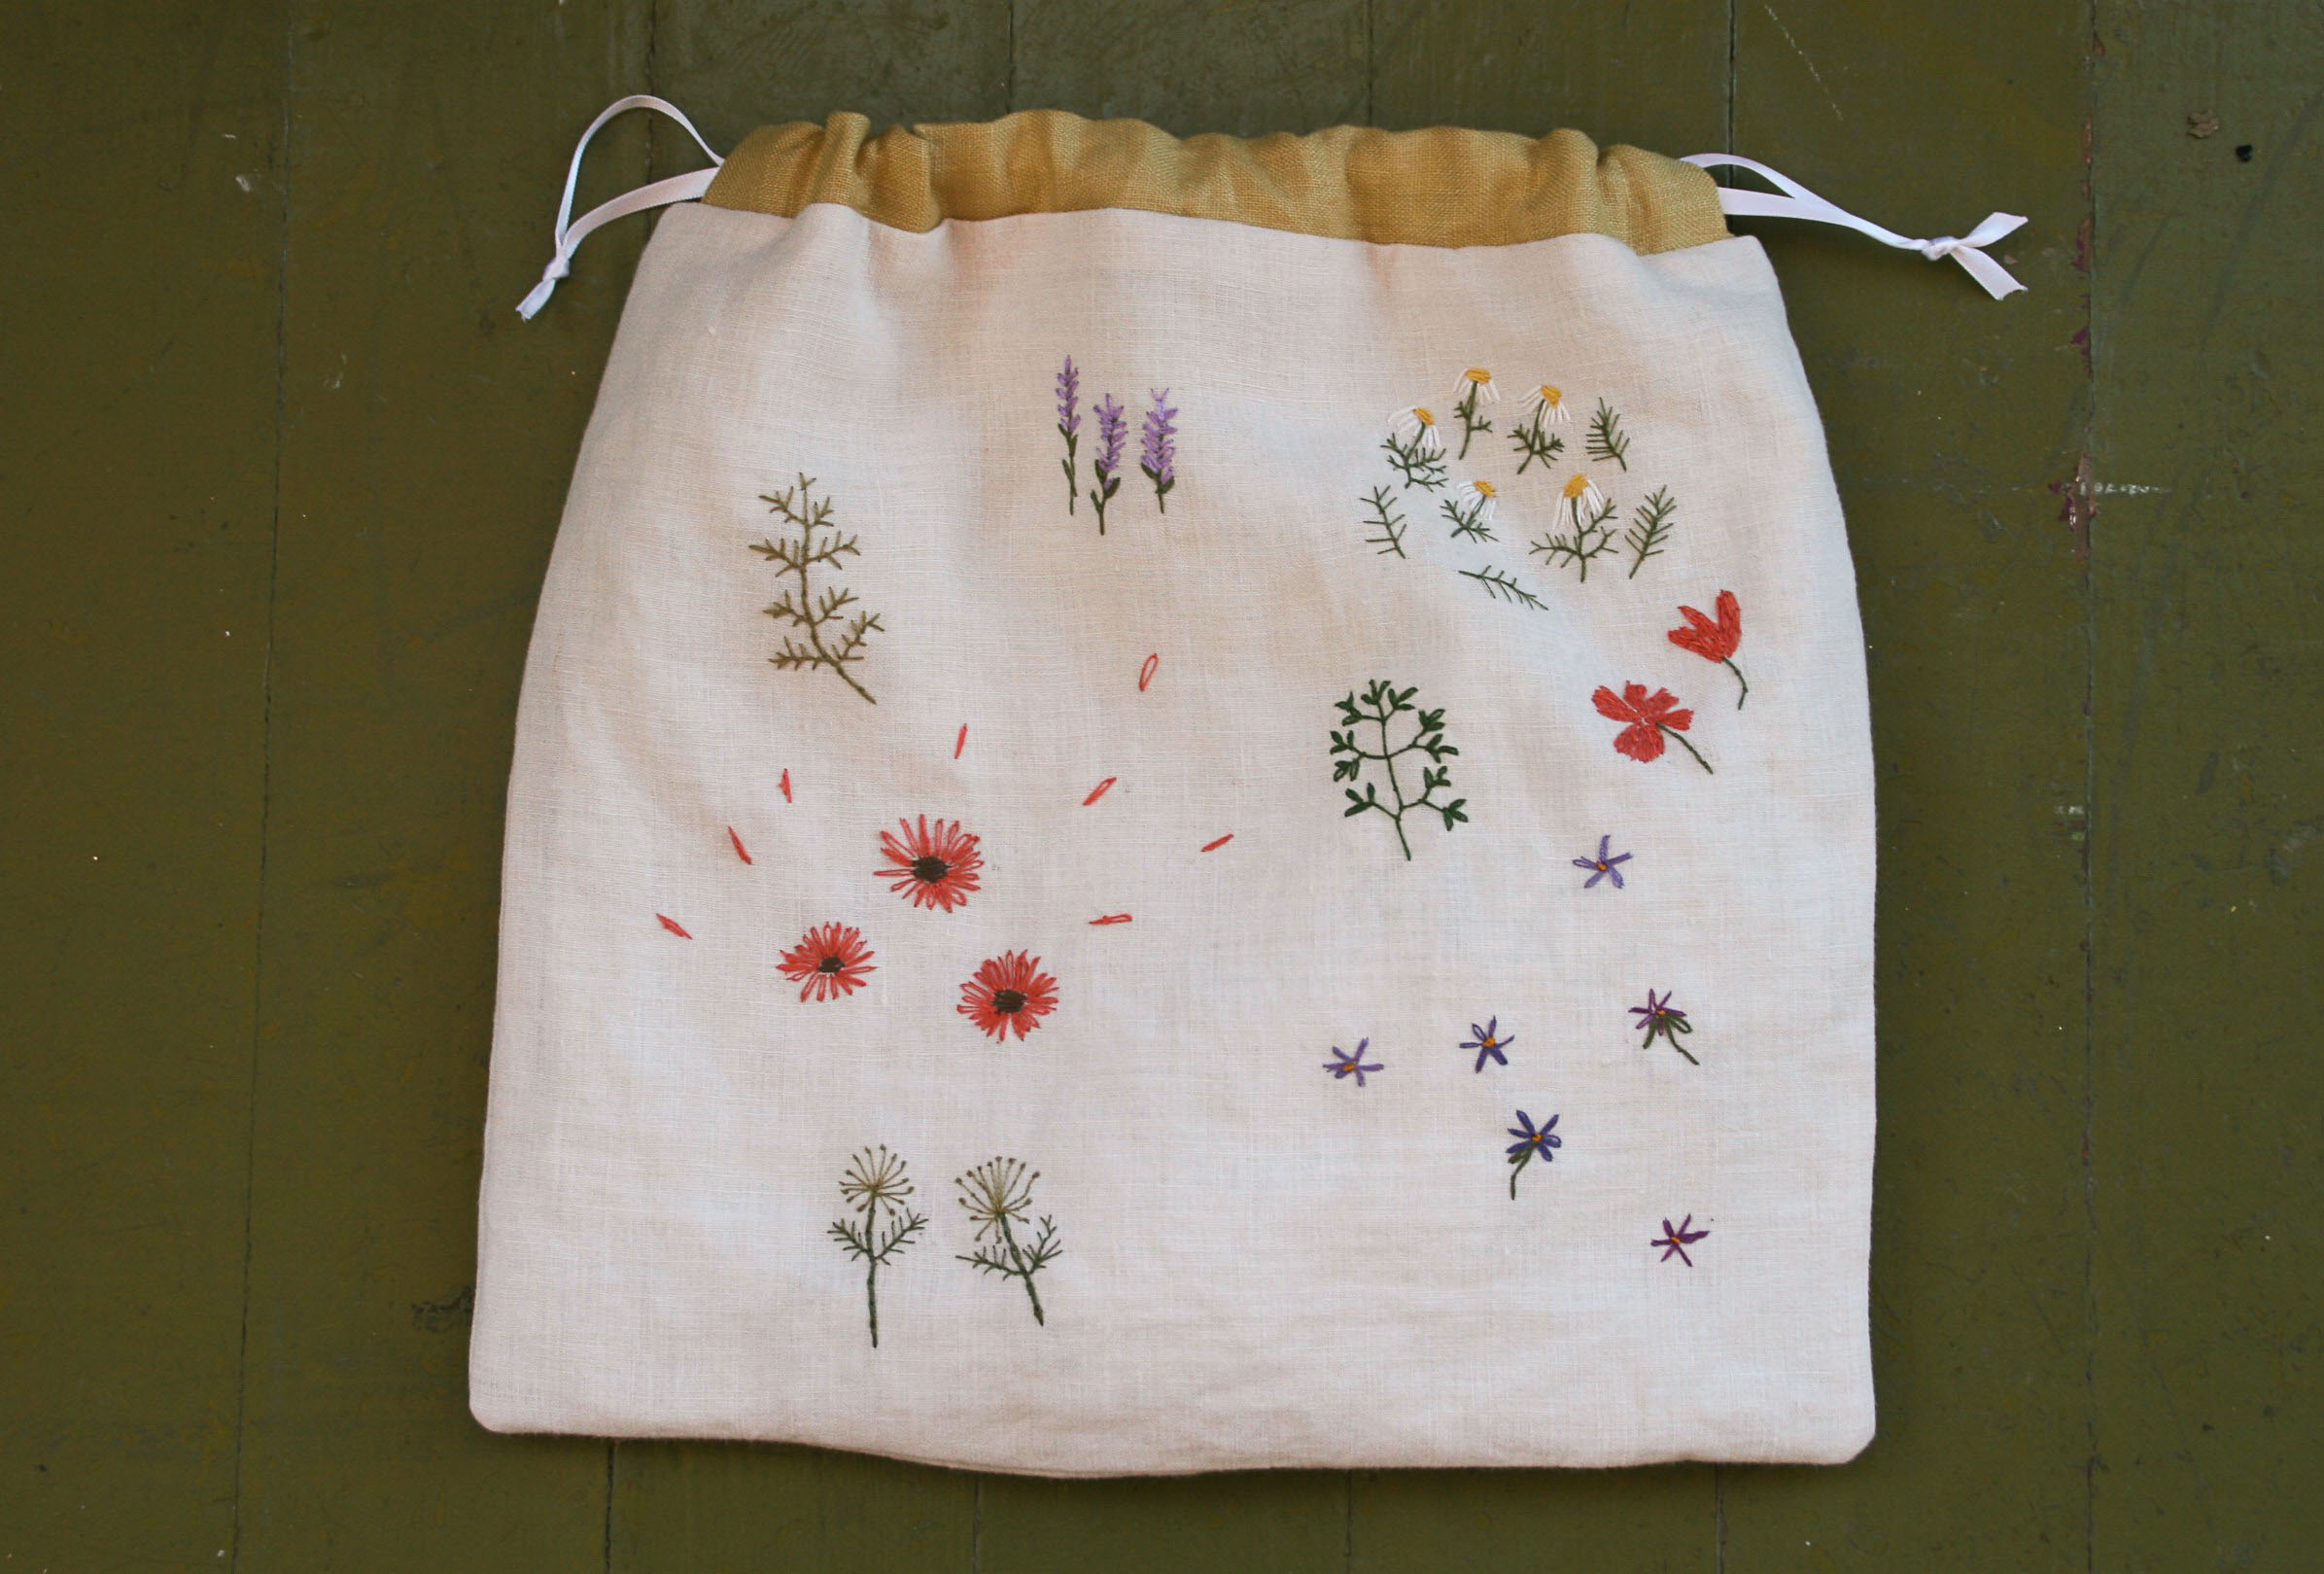
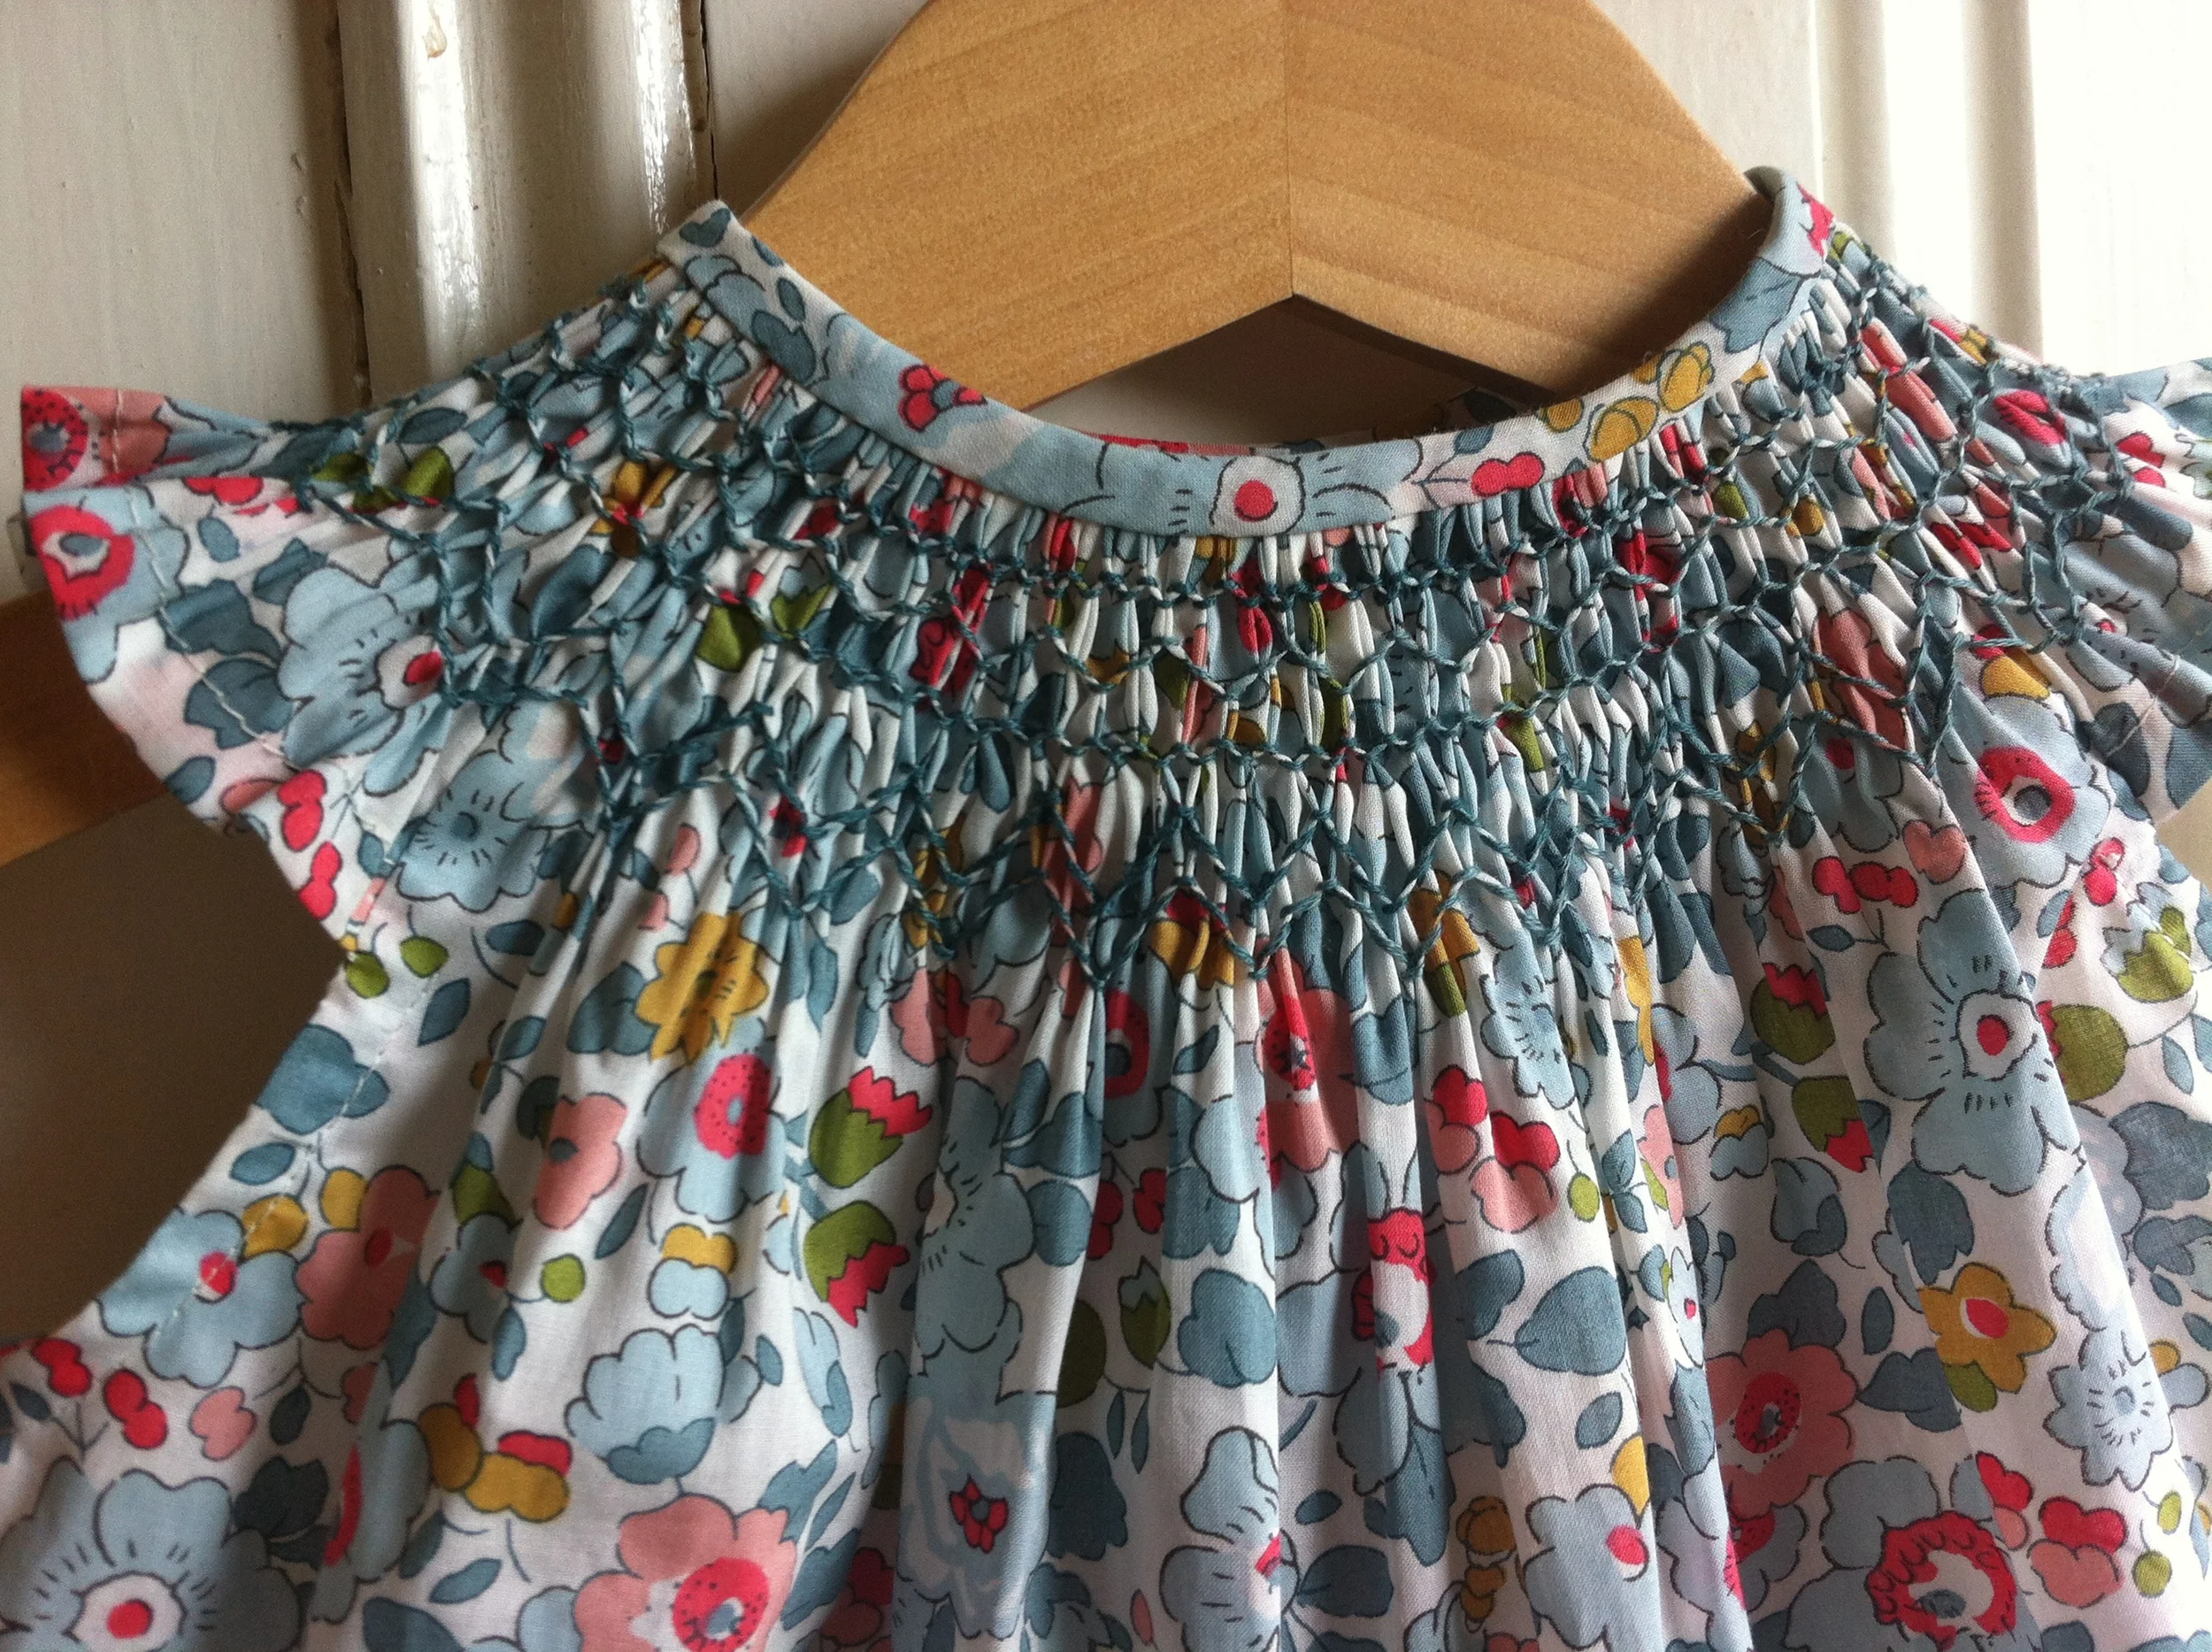
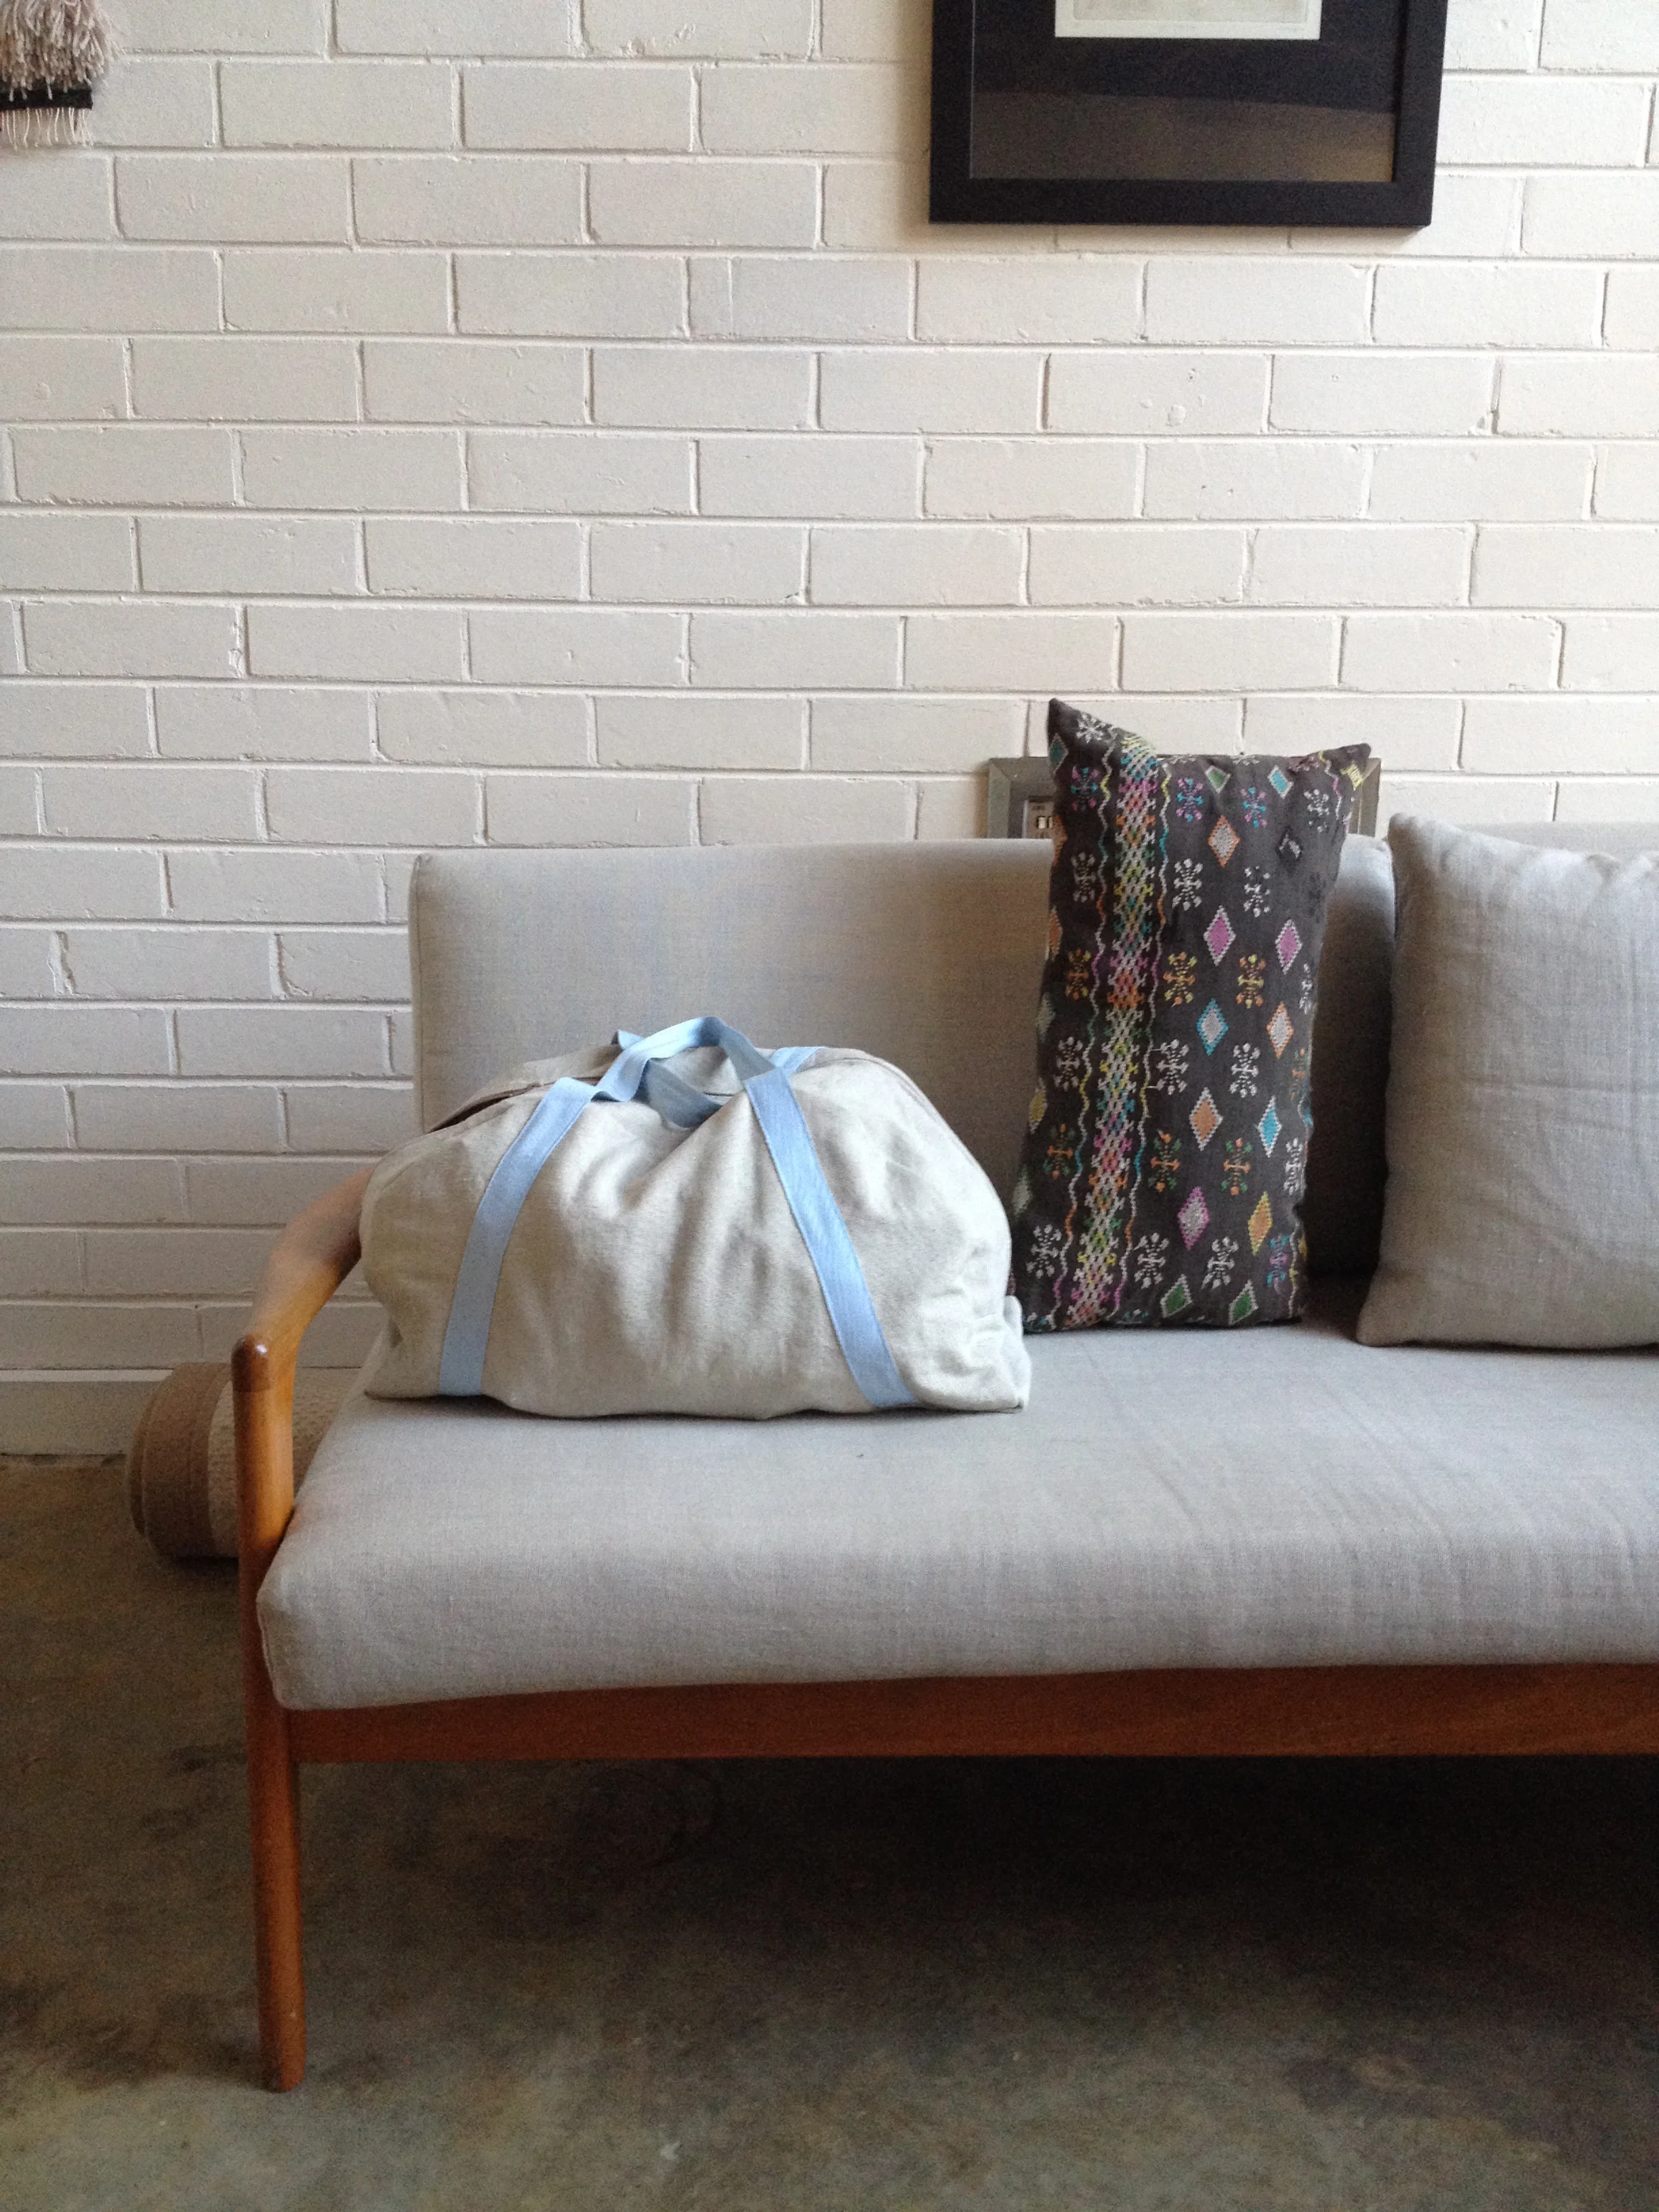
After learning to work cables (both with a cable needle and without) and knit/ purl textures, we’ll explore some of the more unusual stitch patterns and tackle the issues and challenges involved in designing with a combination of stitch patterns, putting pencil to paper to come up with personals designs for a shoulder bag.

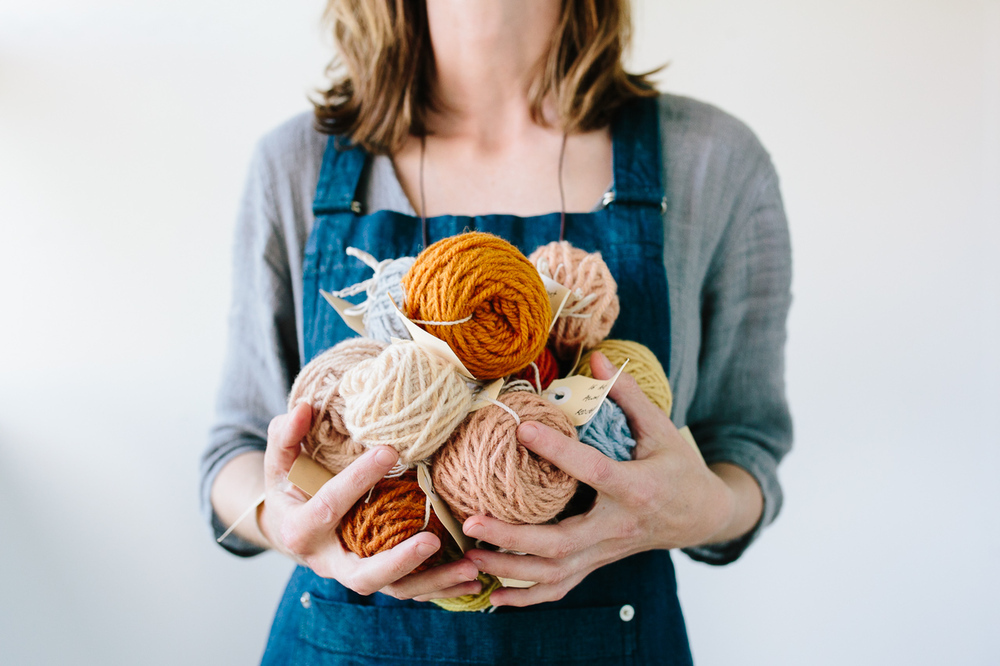
Materials:  Because this class involves combining different stitch patterns to make your own design for a bag, yarn requirements will vary depending on the stitches you use and so can only serve as an estimate. For this reason, I'd recommend using stash yarn that you have plenty of (or are happy to treat as a large sample for the real project if you run out!) or buying more than you may need. Just as a guide for your planning, the use of cables in your design will increase the amount of yarn you will need, while knit-purl combinations will require less.

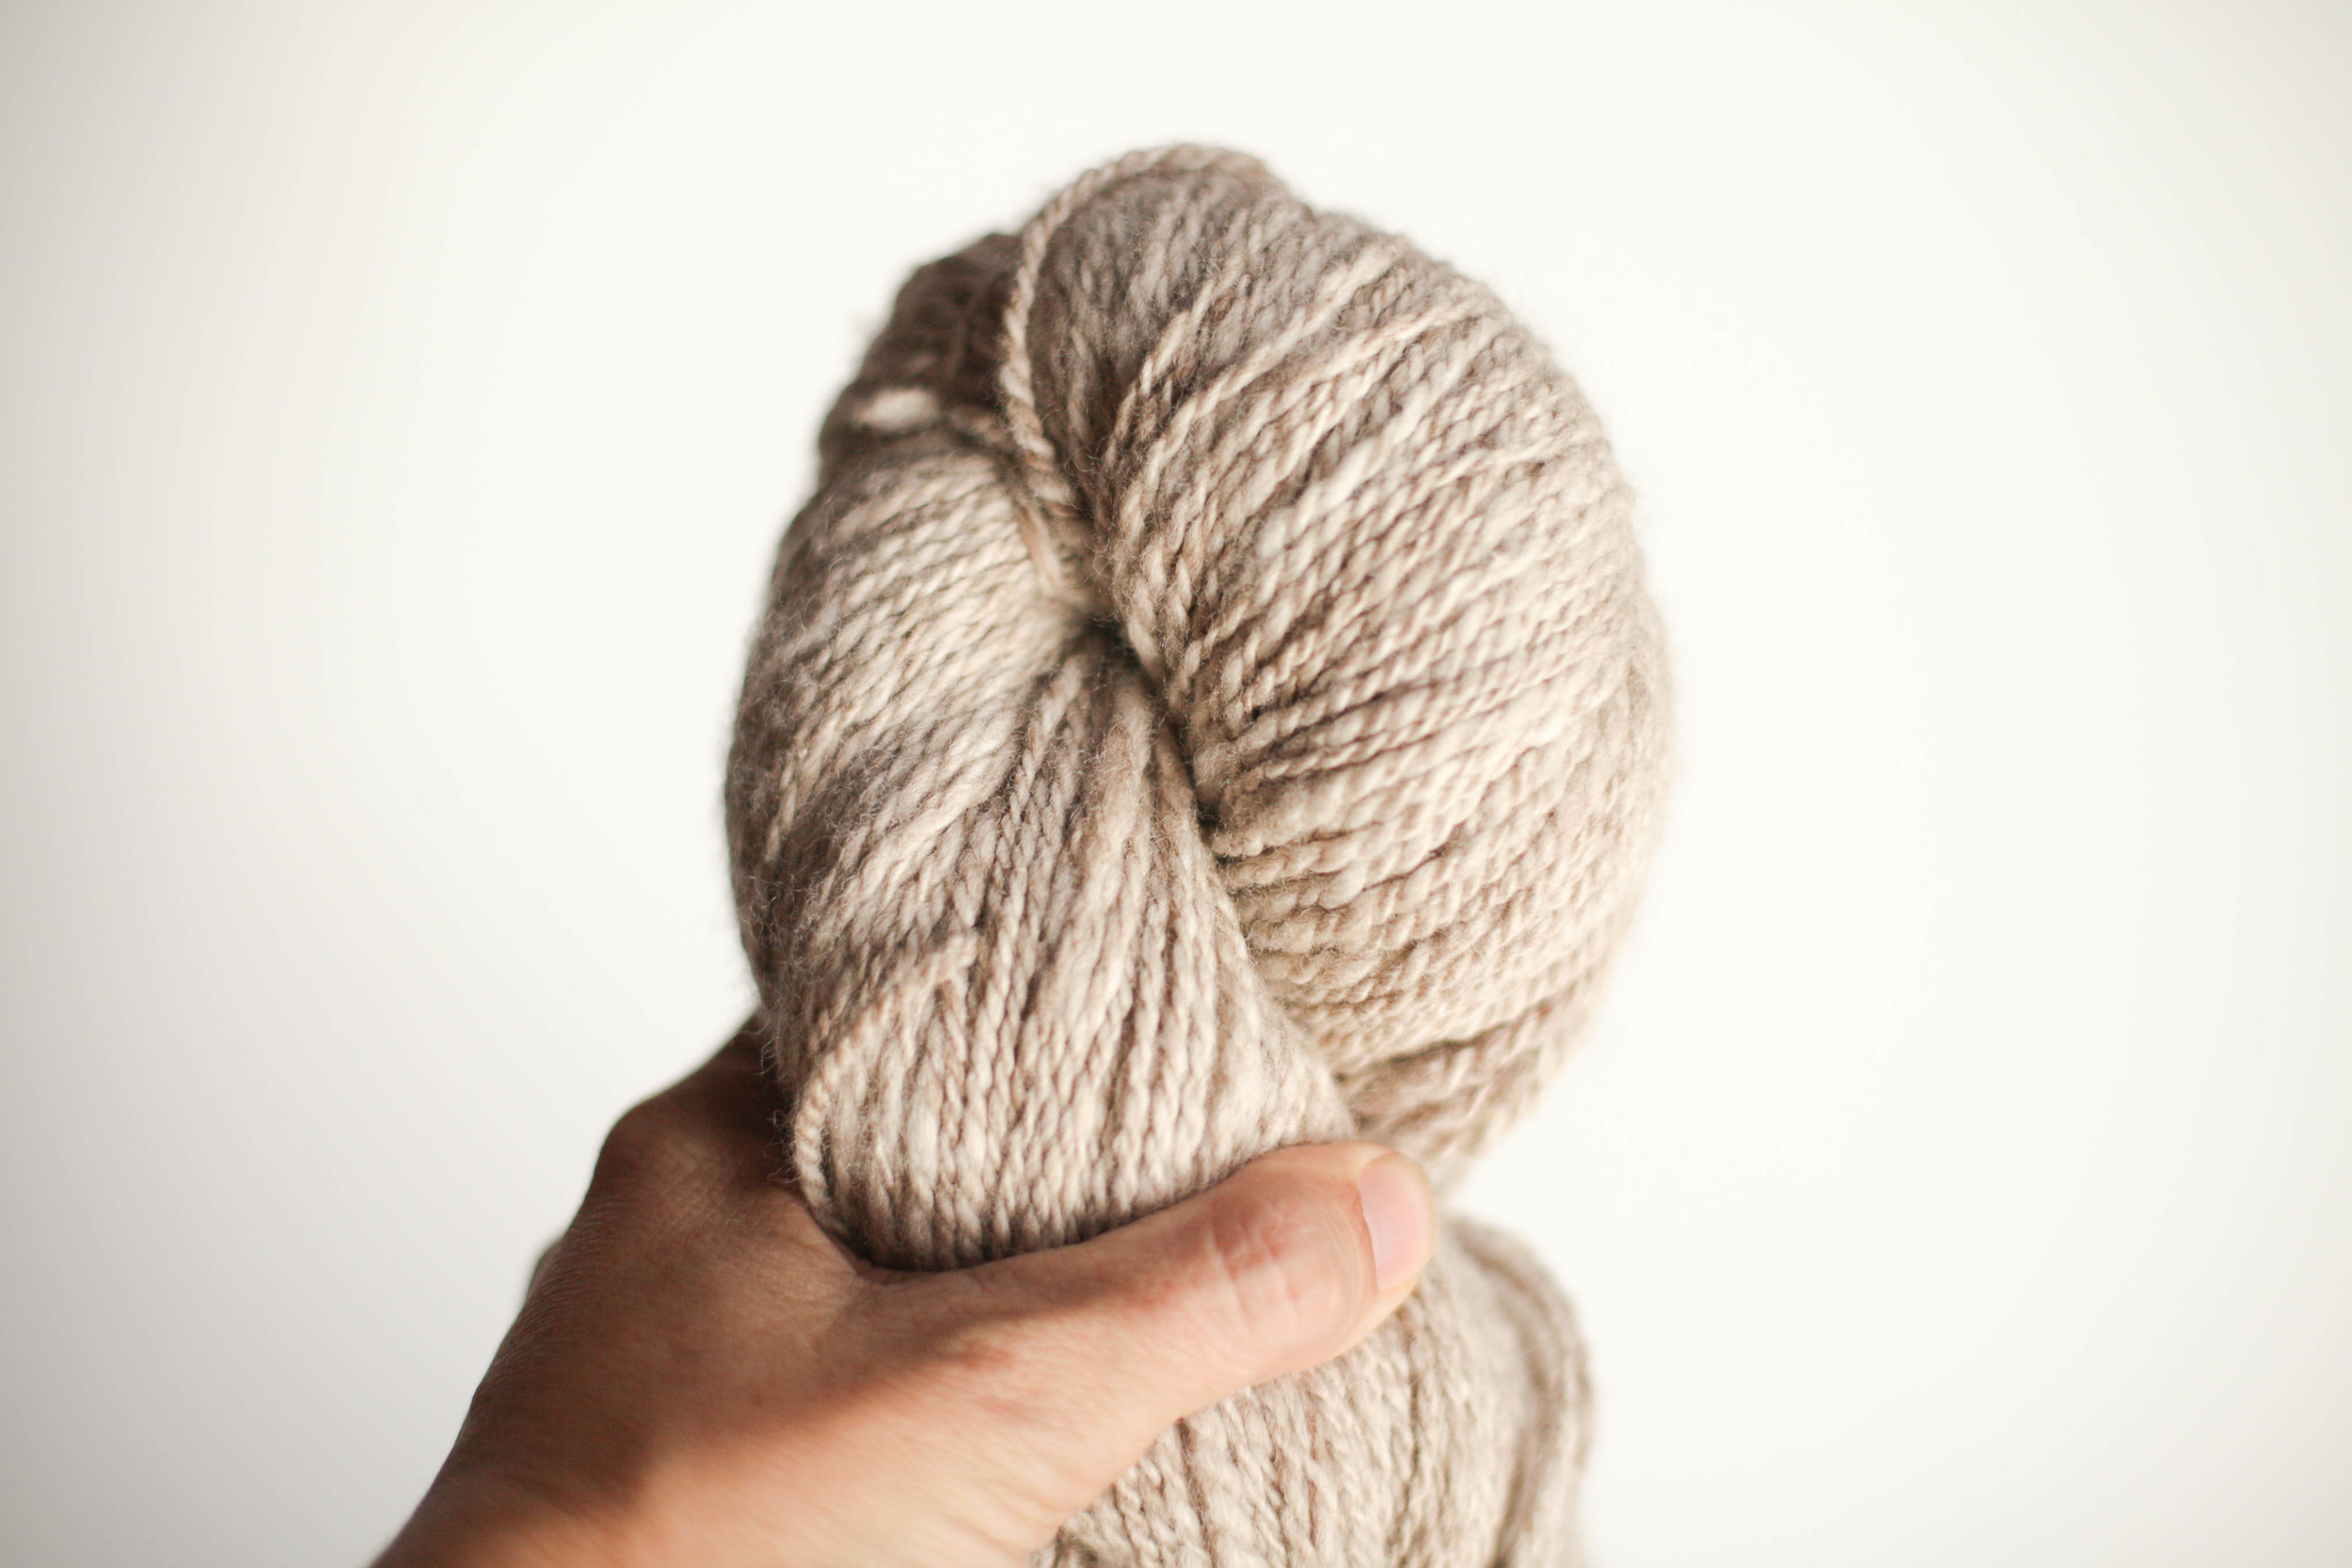
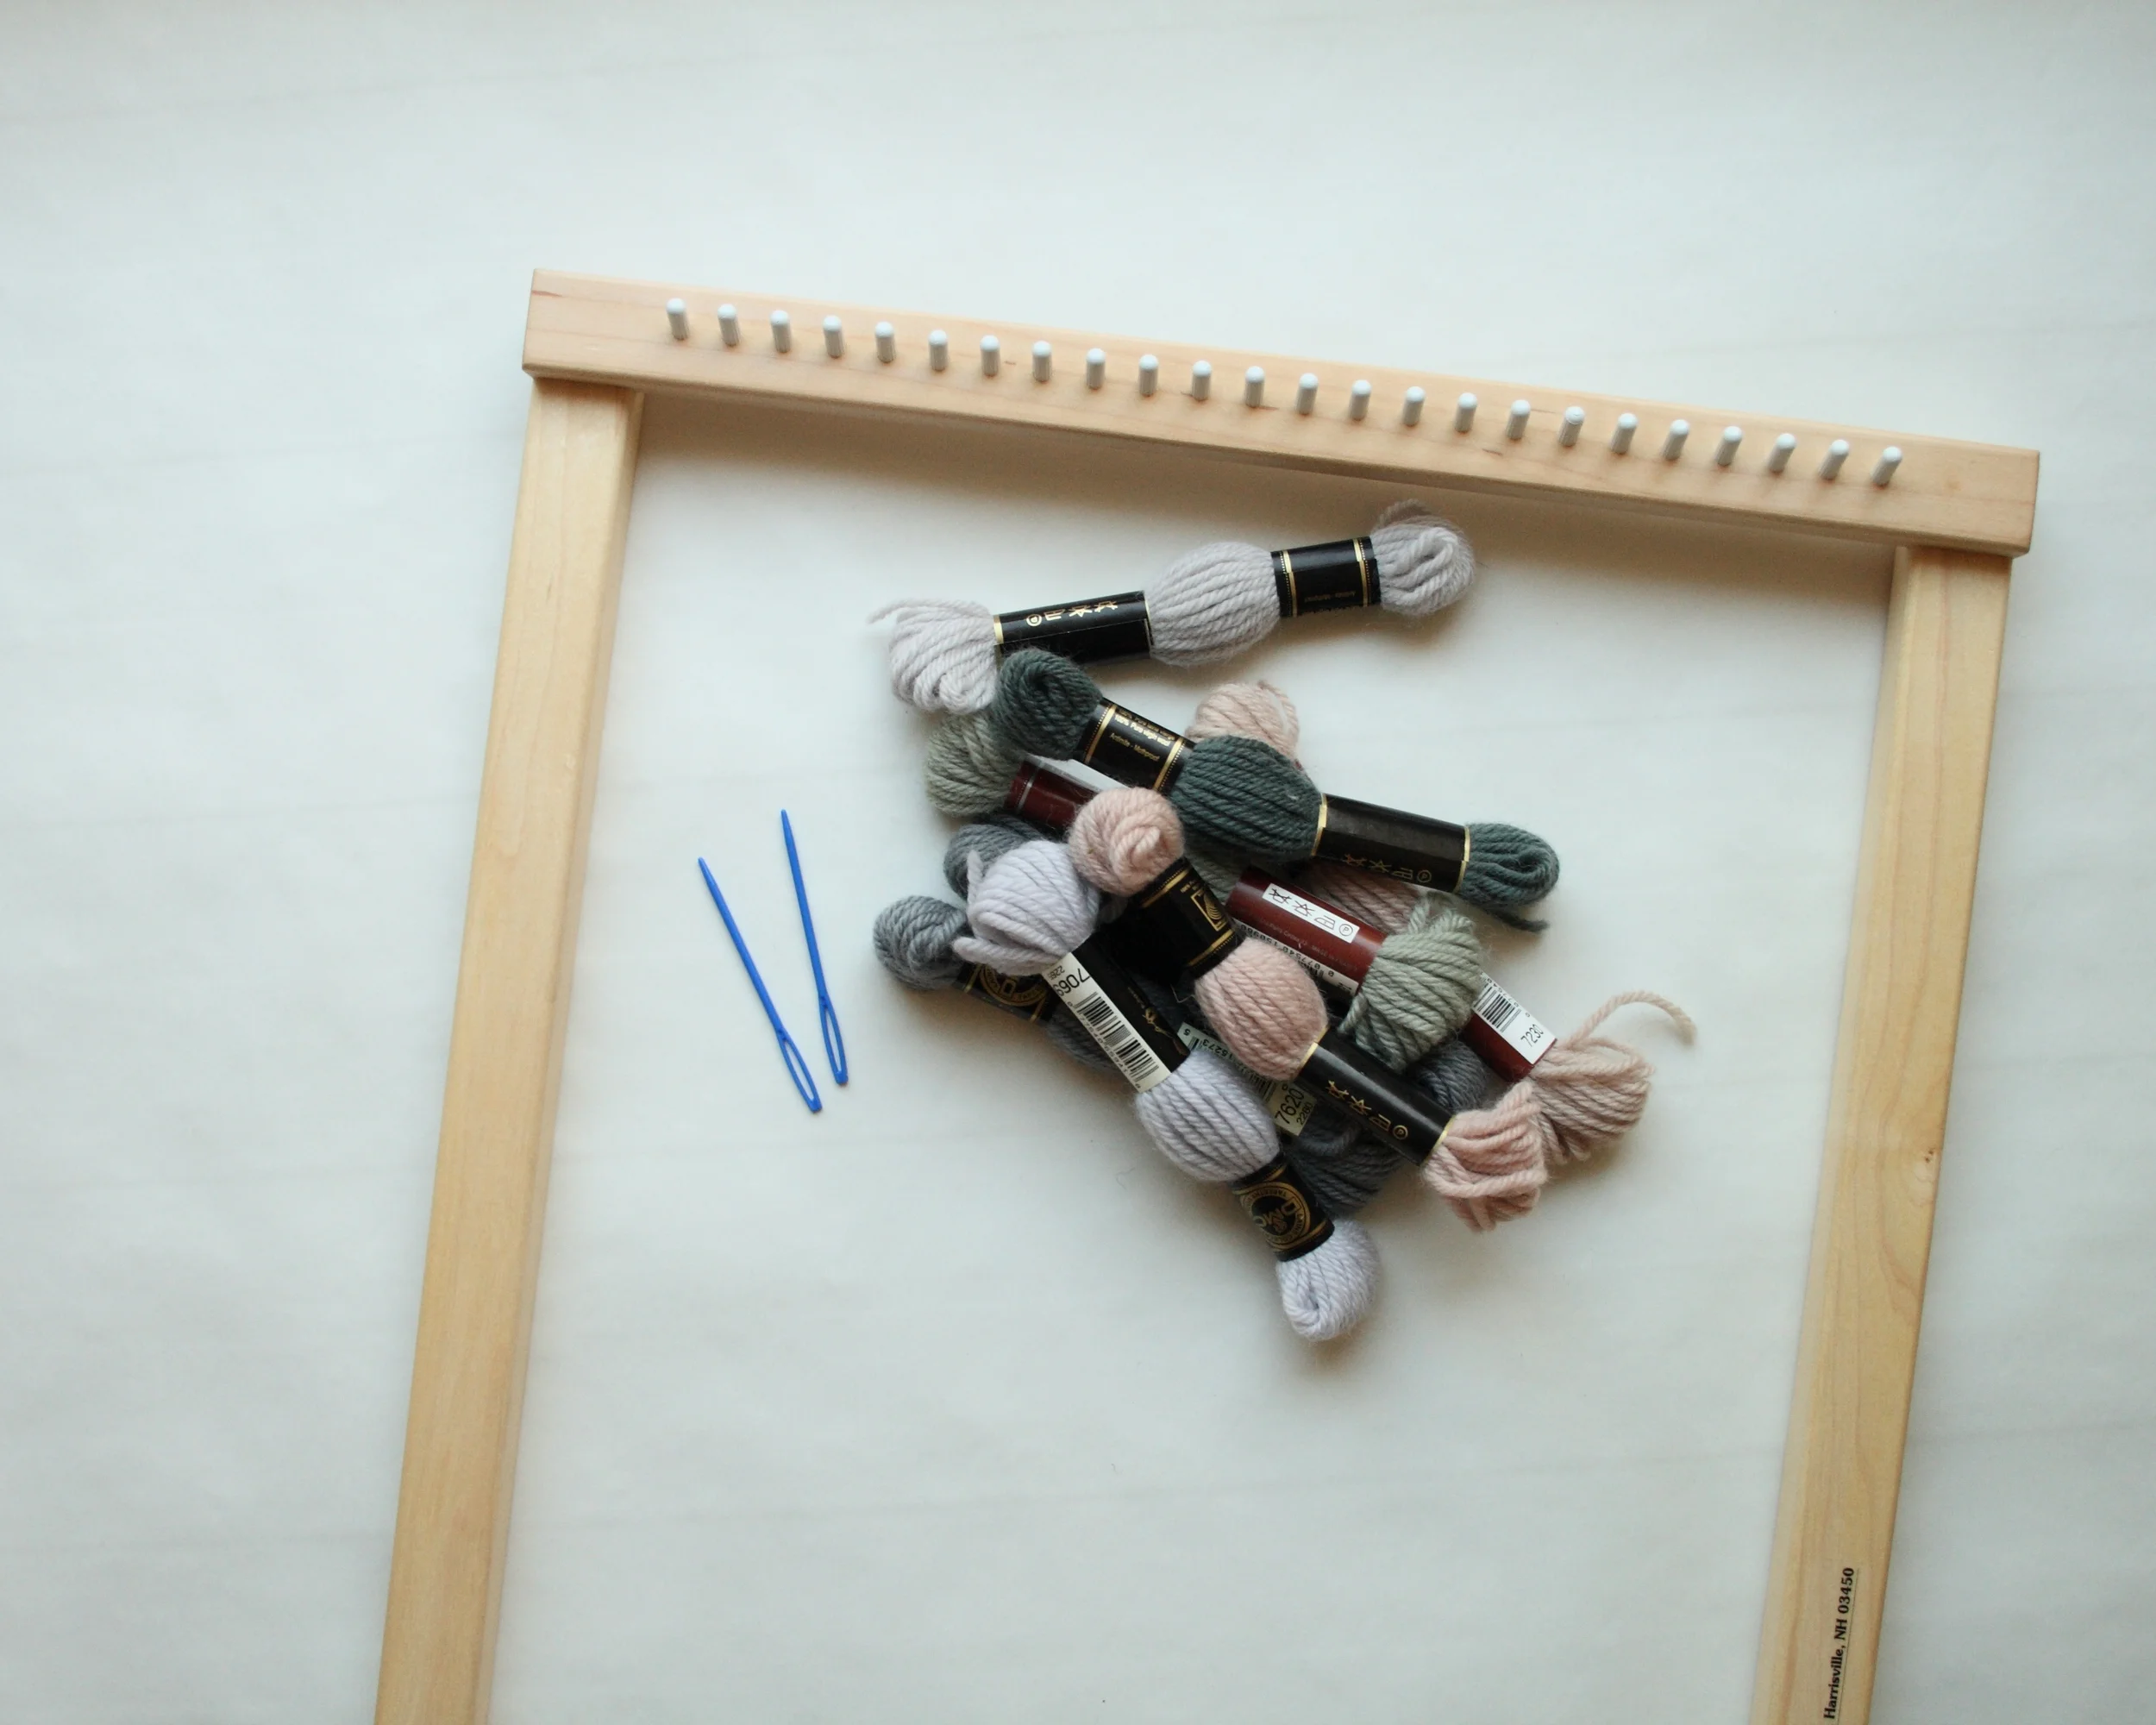
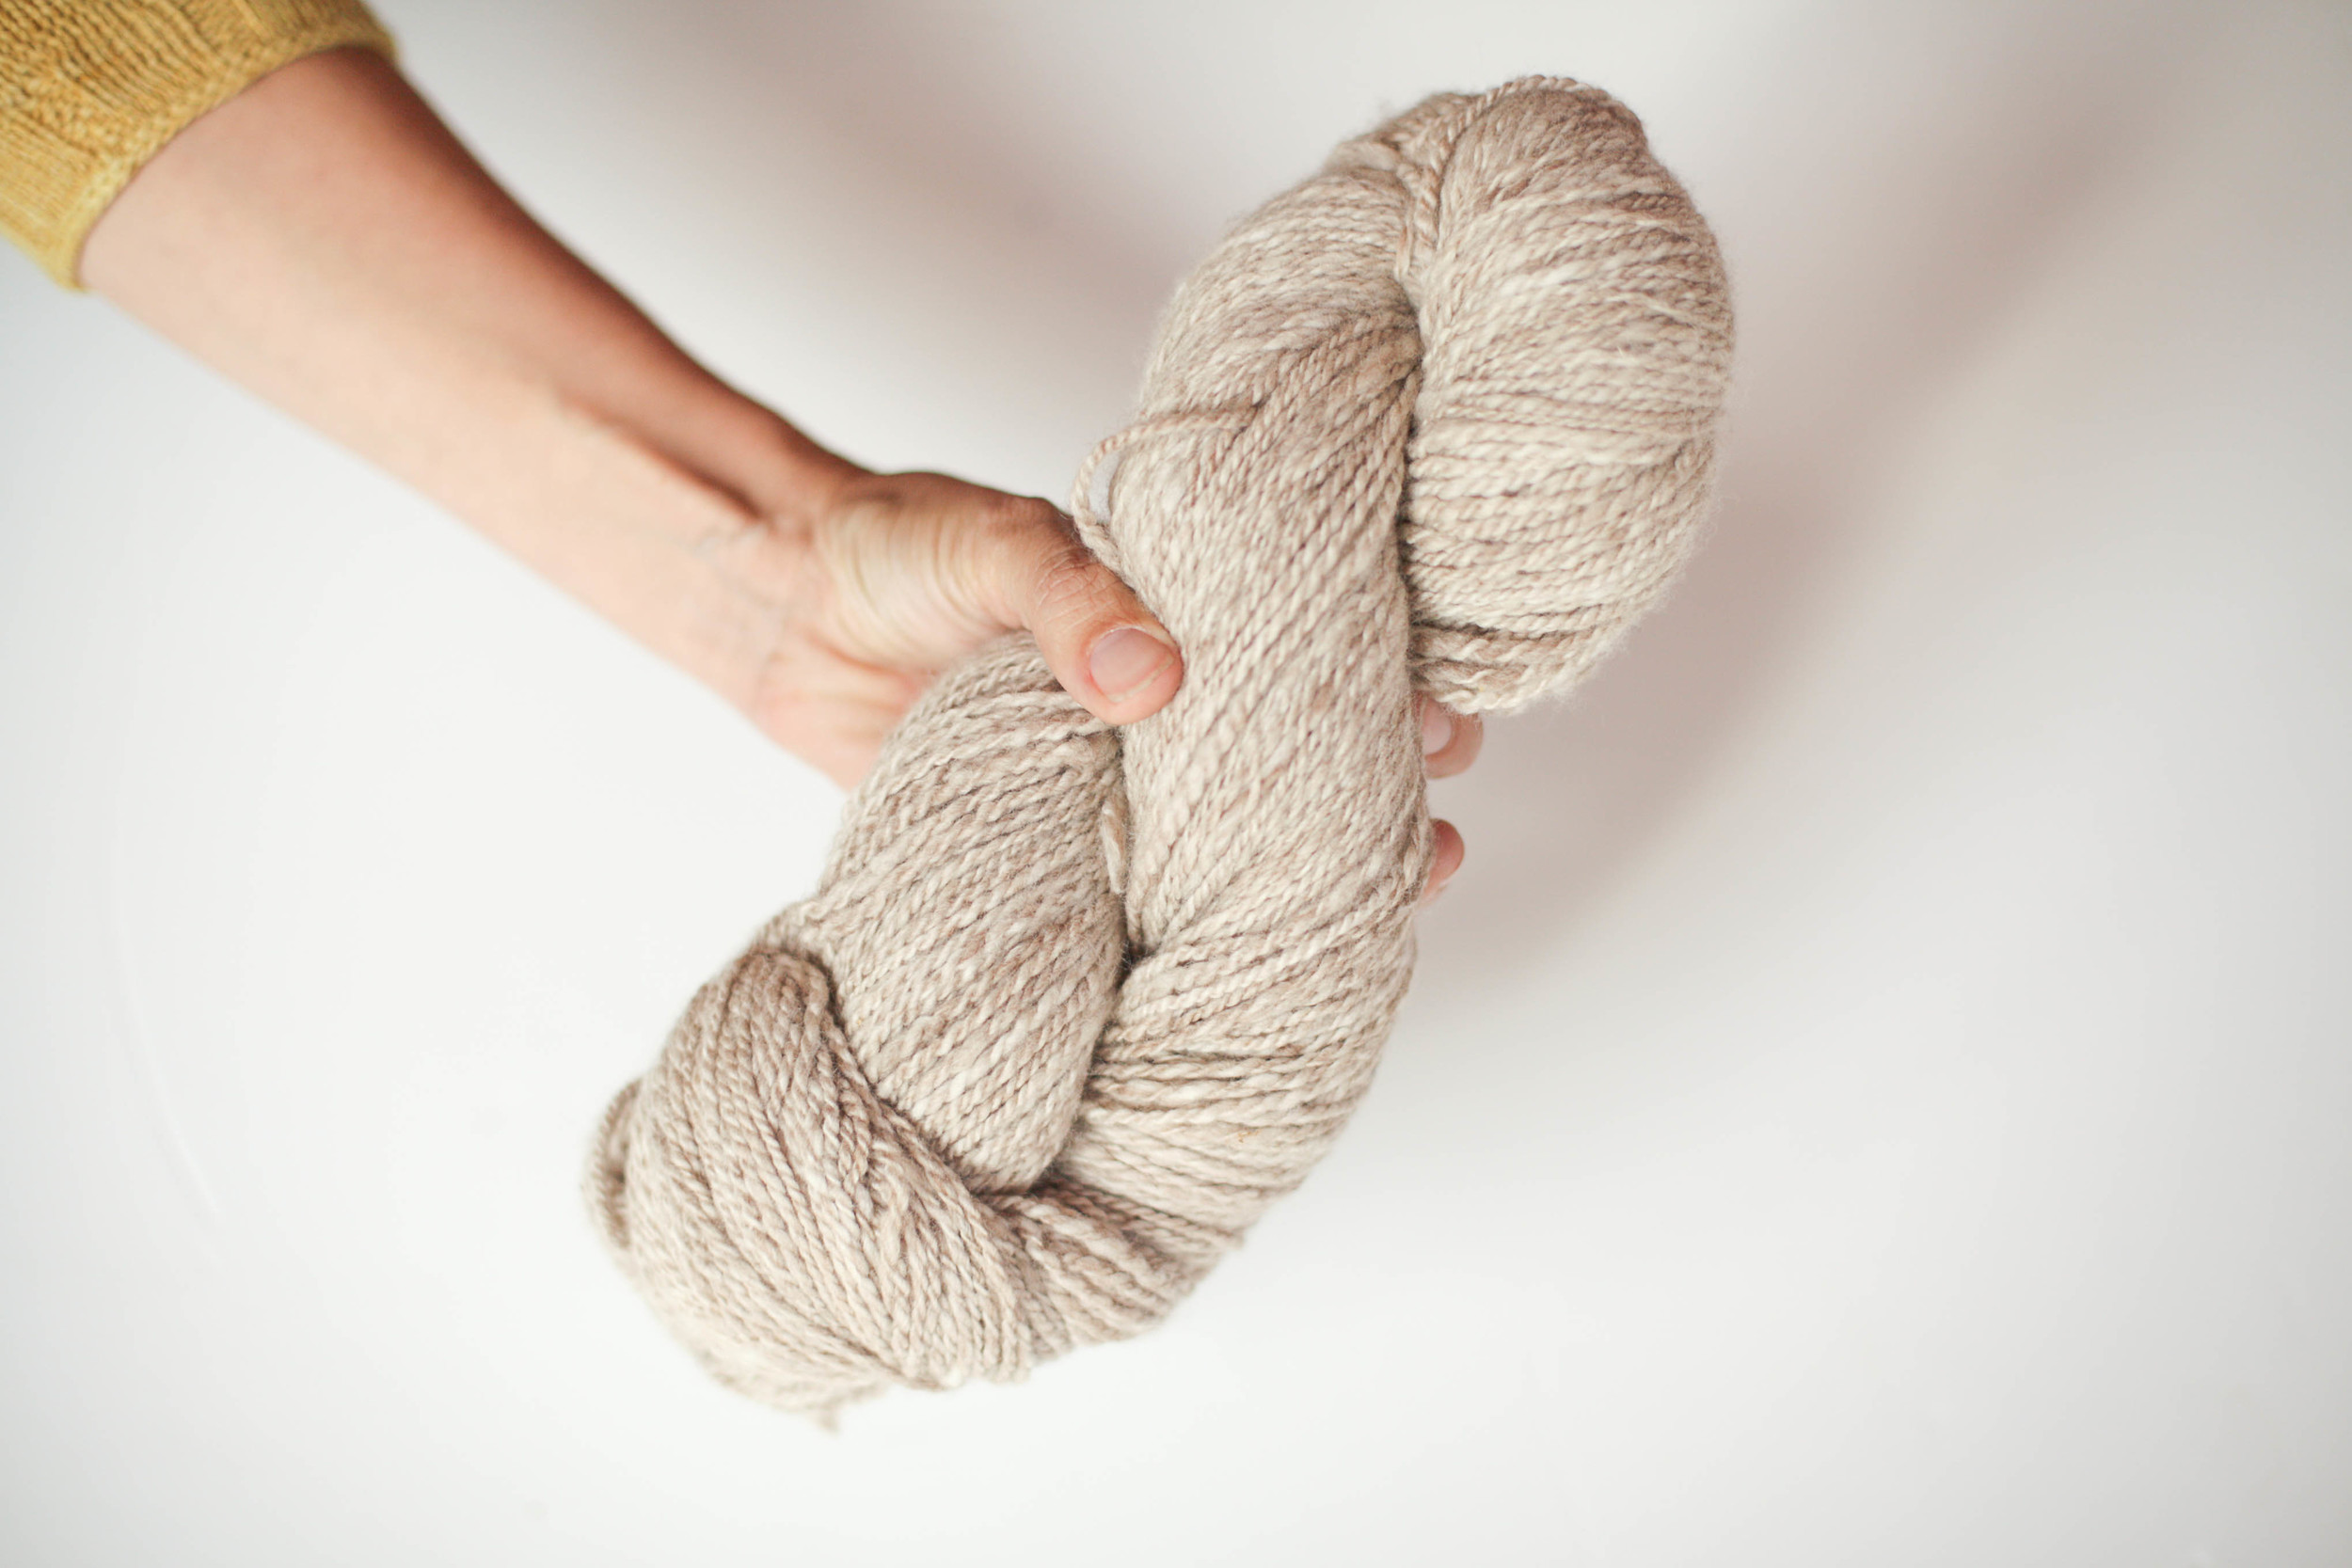
You will need 550-800m of 8ply or 500-700m of 10ply yarn. Yarn should be made of wool, sturdy enough to prevent the bag from sagging and relatively plain in texture and colour in order to highlight complex stitch patterns. Suggested yarns: Cascade 220,  Isager Jensen and Zealana Heron (due to the possum content, this one is suitable for larger patterns such as cables but not for fine knit-purl combinations), all of which are available from Sunspun in Canterbury.

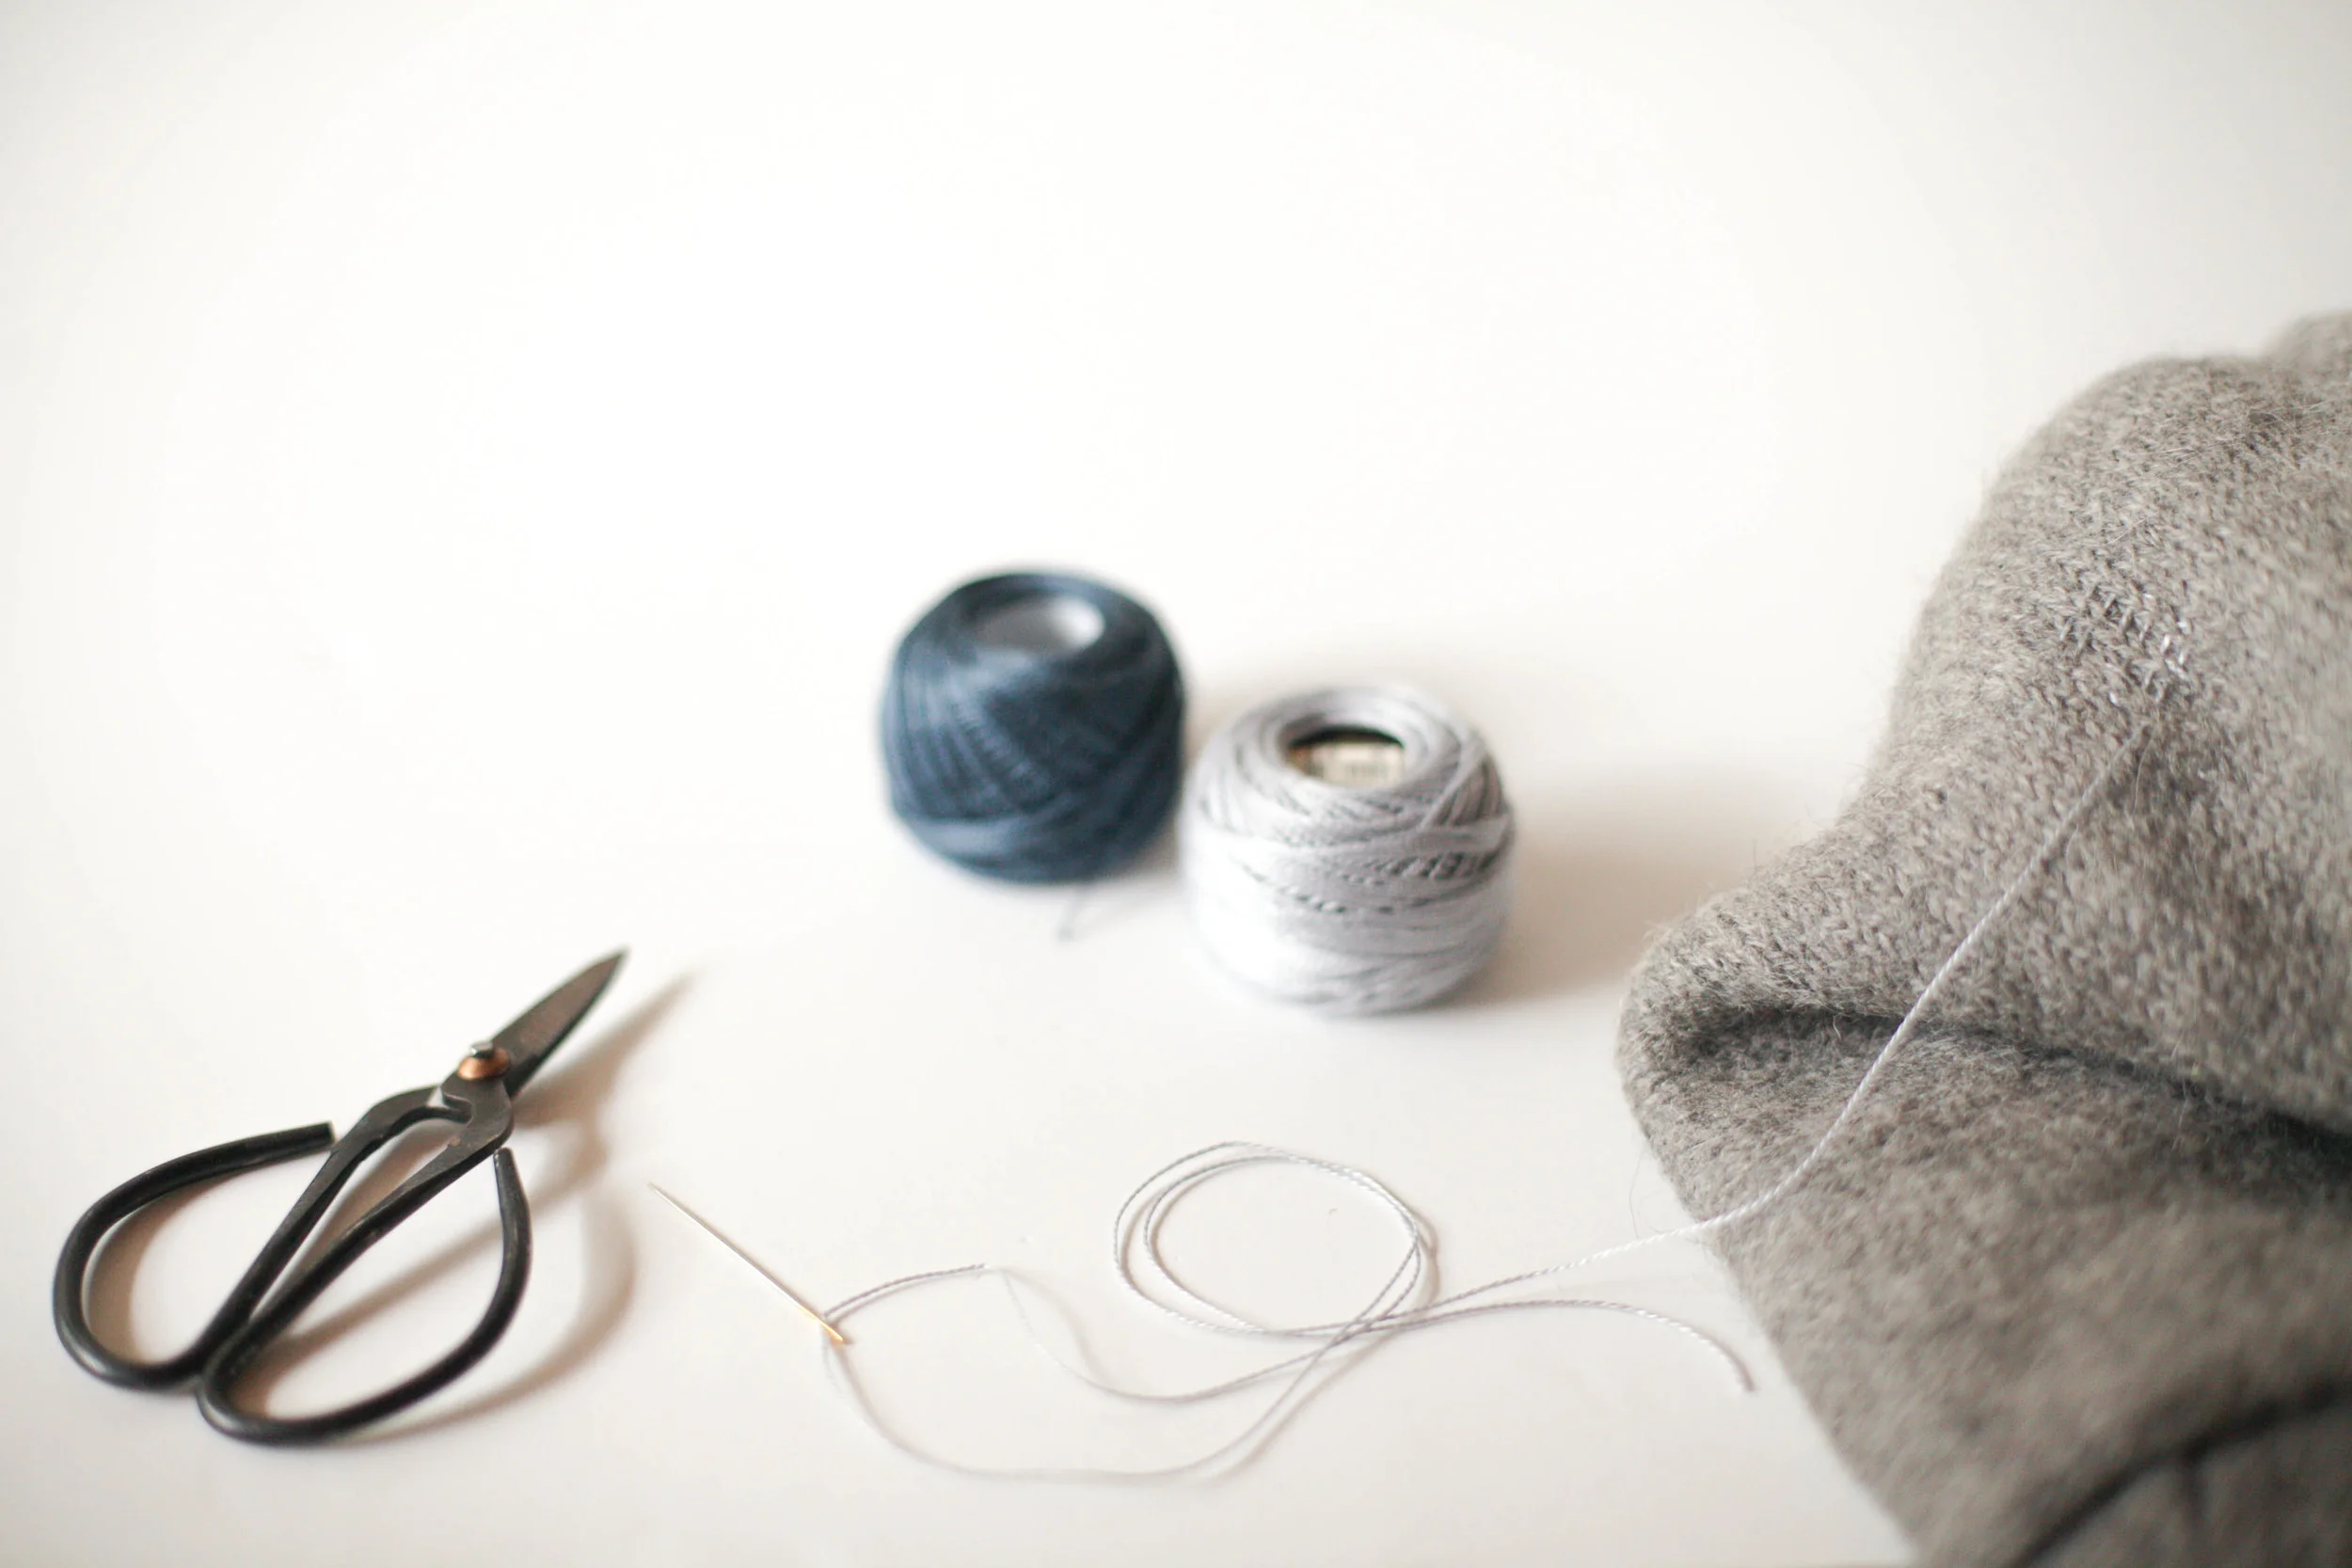
Please also bring a 50-60cm circular needle in the size required to get 23-24st/ 10cm in 8ply or 19-20st/ 10cm in 10ply, as well as one a size smaller, a crochet hook in roughly the same size, a cable needle, stitch markers, a lead pencil, rubber and a few different coloured pencils.

Please contact Jules at jules@woollenflower.com if you need further clarifications on yarn

Takeaway:  Students will begin knitting a shoulder bag in class and will take away an understanding of the history and the essential skills involved this style of knitting, as well as comprehensive notes on the techniques and processes.

Level: Advanced Beginner/Intermediate. Prerequisites are casting on and off, knit and purl, increasing and decreasing, reading a knitting pattern.

FeliciaSemple-100.jpg
FeliciaSemple-4.jpg
FeliciaSemple-1.jpg
FeliciaSemple-5.jpg
FeliciaSemple-2.jpg
FeliciaSemple-6.jpg
FeliciaSemple-3.jpg
FeliciaSemple-7.jpg
FeliciaSemple-101.jpg
FeliciaSemple-102.jpg
FeliciaSemple-103.jpg

Handwork - Textile Collage

Stories have been told through embroidery, quilting and cross stitch for centuries. There is a lovely richness to narratives that are told through textiles, they become almost three-dimensional and sculptural. There is a tactility to the works that cannot be achieved in illustration or the written word. In this class you will work with artist Elizabeth Barnett to create your own fabric collage. 

Teacher: Elizabeth Barnett

Workshop Duration: Full Day

Description:  We can tell our own stories through embroidery collages and appliqué using materials that we have saved from past projects, our grandmother’s stashes, or a friends gift of buttons that we have be hoarding for years. These stories can be complex or as simple as a two pieces of special fabric sewn together with a straight stitch. Using bits and pieces from our stash of scraps of fabrics, buttons, salvaged threads and beads this class will bring together these materials to create beautiful free form embroidered pictures. A wonky stitched line can become a path, and a button, a watering hole, a ribbon can be puckered into a fan and a embroidered text can add a graphical element to an organic stitch story.

Bringing these materials to life in a pictures that tell stories to display on our walls or shelves is a truly special thing. These pictures become keepsakes and heirlooms and reminders of people and projects passed and present. 

In this class we will create visual maps, whether inspired by our life’s journeys or the immediate bush walks that begin and trail around the Yarra Valley where we will be staying for the Craft Sessions weekend. 

Materials:  Please bring:

-   Any scrap fabrics you would like to include in your embroidery.

-   Vintage buttons, thread, ribbons, lace, old doilies, etc. (don’t worry if you do not have much as there will be enough collected by Elizabeth to share with the class).

-   A sketchbook and pencil for designing your embroidery if you like to pre-design your work, or you can free-style your embroidery.

Takeaway: The embroidered collages can be finished in a day or lovingly worked on for weeks after the weekend is over and added to over time. 

Level:  Beginner / Advanced Beginner / Intermediate.  A familiarity with running stitch embroidery helps but is not necessary. Be prepared to get creative and let your stitches wander.

web_Parisian-town_o.jpg
FeliciaSemple_TextileCollage-4.jpg
FeliciaSemple_TextileCollage-6.jpg
FeliciaSemple_TextileCollage-7.jpg
FeliciaSemple_TextileCollage-8.jpg
FeliciaSemple_TextileCollage-9.jpg
FeliciaSemple_TextileCollage-10.jpg
FeliciaSemple_TextileCollage-11.jpg

Knitting - Into the Round and Upside Down: Converting Stitch Patterns

Stitch dictionaries are a bible for knitters. Unfortunately, the stitches presented are usually knit flat from the bottom up. This class explores how to convert stitch patterns to enable you to knit them both in the round and/or to top-down. Whether you’re a budding designer or someone who likes to modify patterns, this is the class for you. 

Teacher: Georgie Hallam

Workshop Duration: Half Day

Description: In this class we will take existing stitch patterns, designed to be knit flat and from the bottom up, and explore their potential to be converted to circular and/or top-down knitting. We will look at how to read a chart and will together re-chart and adapt a number of stitch patterns for our own knitting needs. 

We will explore a number of cable, lace and textured stitch patterns; re-charting, modifying and discussing the pitfalls and possible issues to be aware of. Knitters will gain an insight into the fundamentals of what makes different stitch patterns work and their essential aspects. This may even give you the confidence to attempt to create your own!  

This class is a useful one for helping knitters develop a confidence and familiarity with charts. This class would be an excellent lead-in class to Design Your Own: Any Yarn, Any Size, Any Stitch Hat.

*Please note that more pictures will be added to this workshop description shortly. The baby jumper shown displays Barbara Walker's famous Frost Flowers pattern knitted in the round.

Materials: Knitters graph paper - bring plenty, be prepared to make mistakes!                         ( can be downloaded and printed from here:  http://www.theknittingsite.com/knitting-graph-paper/). Yarn; just in case you wish to play around with your stitch patterns. Needles, size relevant to your yarn. Cable needles, stitch markers, tape measure; your usual collection of necessary notions. Notepaper and pens for taking notes. Pencil and eraser; absolutely essential!

Takeaway: Confidence in understanding charts and how to convert stitch patterns every which way. 

Level: Intermediate. Participants must be confident knitters.

Immie2_1.jpg

Knit Design - Design your own hat

Design your own any yarn, any size, any stitch hat. This class acts as an approachable step for those considering pattern design. Hats are bite-size design pieces and a great first step into pattern writing.

Teacher: Georgie Hallam

Workshop Duration: Half Day

Description: This class will explore the principles of designing your own hat pattern. Participants will bring to the class their own inkling of an idea for creating a hat with yarn and stitch pattern already chosen. This idea could be something as complicated as laces or cables or as simple as stocking stitch. We will explore how to size hats to fit a wide range of head sizes, how to work with ease and the challenges of different types of stitch patterns.

You will be given the option to use one of a number of different brim and crown treatments  and learn how you can apply these to different hat shapes such as berets, beanies and slouchies. 

Using a pattern template, we will look at the essential details to include in your pattern and we will discuss the steps from the completed pattern to publication. 

Materials: A decent sized blocked swatch (6 x 6 inches) knit in the yarn and stitch pattern you wish to use for your hat. Please measure the tension prior to blocking as well!  (You may wish to bring more than one swatch). 

Needles in the size used to knit your swatch in both a 40cm circular and dpns. A 40cm circular in a size smaller than used for your swatch. Cable needles, stitch markers, tape measure; your usual collection of necessary notions. Notepaper and pens for taking notes. 

Takeaway: At the end of the class you will walk away with a hat pattern, a partially completed sample and the confidence to take the next step. 

Level: Intermediate. Participants must be confident knitters with some understanding of hat construction.

FeliciaSemple-1.jpg
FeliciaSemple-10.jpg
FeliciaSemple-13.jpg
FeliciaSemple-12.jpg
FeliciaSemple-11.jpg

Sewing - Kid's Wardrobe in a Day

Sewing for kids is a great way to get your sewing mojo going. You can practice your sewing skills with less time and risk than making adult garments. That said kid's garments require certain extras to ensure they have the longevity required to get through the rough and tumble of daily use.

Teacher: Felicia Semple

Workshop Duration: Full Day

Description: This is a beginner/intermediate sewing class designed for people that want to learn how to put garments together quickly and simply. During the workshop we will make a pair of shorts, a top and hopefully a skirt. We will cover fabric choice, sewing with knits, cutting for minimum wastage and many many tips and tricks. Using Japanese pattern books will also be covered briefly as part of this class. 

Materials: 1.0m of a quilting cotton/voile/lawn for a skirt, 1.0m of knit fabric to make a tshirt (this can be recycled but shouldn't be super thin), 1.5m of a quilting cotton/light cotton twill or a linen/cotton blend, basic sewing supplies such as pins, scissors, cotton, as well as a sewing machine. You must also own/purchase a copy of Happy Homemade V2.

Takeaway: A pair of shorts, a tee and a skirt for a child aged between 2 and 8. The photos for this class are showing the types of simple garments that will be made in the class. 

Level: Advanced Beginner/Intermediate. You need to be able to sew a straight line and a curve and know your machine. No stretch experience is necessary. We will cover that in the class. You do need to be happy to get a wriggle on - this isn't a tea drinking kind of class ;).

FeliciaSemple_KidsClothes-29.jpg
FeliciaSemple_KidsClothes-28.jpg
FeliciaSemple_KidsClothes-20.jpg
FeliciaSemple_KidsClothes-21.jpg
FeliciaSemple_KidsClothes-23.jpg
FeliciaSemple_KidsClothes-24.jpg
FeliciaSemple_KidsClothes-26.jpg
FeliciaSemple_KidsClothes-30.jpg

Handwork - Darning

Learn how to extend the life of your knits!

Teacher: Julia Billings

Workshop Duration: Half Day

Description:  Through the use of traditional darning methods, you can not only prolong the life of your knits (and wovens) but also reinvigorate them through the addition of colour and texture.  In this class, you will learn to darn holes both large and small, using a variety of knitted and woven techniques such as grafting, simple and advanced swiss darning and scotch weaving, as well as also explore ways to fix or replace worn areas, such as elbows, necks or cuffs.

Most of the workshop will be dedicated to practicing on knitted swatches but we will also spend some time looking at damaged pieces in order to assess how to deal with holes and problems in your own well-loved projects. Please feel free to bring in your damaged knits but, please, no items with moth holes!

Materials:  Please bring a stocking stitch swatch measuring approximately 25cm x 25cm. You will need to block your swatch before the class so that it lays flat and is easy to work on. Gauge is not important but I would recommend using smooth, light-coloured wool in 8ply or thicker to make it easy to see your stitches.

You will also need a small amount of the same yarn or similar yarn to darn with, the knitting needles you used to make the swatches, two double-pointed needles (the same size or smaller), a pair of small, sharp scissors and a blunt-ended wool needle. Please feel free to bring in pieces that need repairing (but only if you are certain they are not moth eaten as they can contain eggs).

Takeaway:  Students will take away the knowledge and confidence to repair holes and worn areas safely, as well as comprehensive notes on the techniques and processes covered.

Level: Beginner -  no knitting or sewing experience is required.

FeliciaSemple-200.jpg

Printing - Screen Printing At Home

Learn the most simple and effective ways to screen print your own designs onto fabric and how you can set up your own workspace to keep doing so at home. 

Teacher: Leslie Keating

Workshop Duration: Full Day

Description: In this six hour workshop, you will create stencils using both paper and vinyl and learn what kind of designs work best with this method. We'll also discuss other means of getting artwork onto screens including photo emulsion and using drawing fluid.

Materials: 2-3 meters of cotton calico (or other natural fibre fabric)  cut up into 40cm x 50cm pieces (roughly 20 pieces) to use for test prints and then whatever natural fibre material or items you want to print on (fabric, pillowcases, t-shirts, tea towels, etc).

Takeaway: This is a technique focused class but you will go home with the stencils created during the workshop, your fabric test prints and one linen tea towel or calico tote bag (your choice) printed by you plus an instruction sheet which outlines the information given in the workshop.

Level: Advanced Beginner/Intermediate

screenprinting_workshop4.jpg
screenprinting_workshop.jpg

Embroidery - From The Natural World

Come and spend a day with Melissa Wastney of Tiny Happy, gathering, sketching and stitching. This class an adventure in free-form stitching and has been one of our most popular - sells out every year!

Teacher: Melissa Wastney  

Workshop Length: Full Day

Description: This is a full day workshop in which we'll explore simple embroidery and the way we can use it to express natural forms.

From Melissa - "While this class is great for both beginners and more experienced stitchers, it does require and encourage some degree of adventurous and artistic self-expression. At least, as adventurous as it gets with a needle and thread ;) I’ll be on hand to teach the basic stitches and techniques if required, but will also help you find your own free-form style. I’ve had a lot of teaching experience and truly love seeing my students express their artistic ideas with needle and thread.

We’ll start the day with a selection of botanical and embroidery inspiration to inspire us. We'll learn and practice some simple stitches. Then we'll go outside to collect pleasing natural objects for our own inspiration. Upon returning to our hoops, we'll spend some time sketching the pieces before making our own piece of textile art."

Materials:  Medium-weight linen of any colour (you might like to bring a selection of colours/types - 1/4 metre of each piece will be plenty.)Embroidery threads in your favourite colours (six-strand floss is easiest to use for beginners). Sewing needle. Embroidery hoop- medium sized. Thread scissors. Sketchbook, pencil, eraser.

Takeaway: The finished embroidery could be framed at a later date, or incorporated into a future project such as a quilt or bag.

Level: This class would be great for beginner stitchers as well as experienced ones. Melissa is an experienced free-form embroidery teacher and loves seeing students express their artistic ideas with needle and thread.

FeliciaSemple_Embroidery-2.jpg
embroidery- tulips-2.jpg
CS62.jpg
FeliciaSemple_Embroidery-3.jpg
FeliciaSemple_Embroidery-4.jpg
20131026-95.jpg
CS41.jpg
CS49.jpg
CS52.jpg
CS71.jpg
20131026-236.jpg

Sewing - Overnighter Bag

Make this gorgeous overnight bag - made from sturdy cotton canvas with a fun chunky zipper that you will want to fill and take with you on your next day trip or overnight adventure.


Teacher: Beattie Lanser

Workshop Duration: Half Day

Description:  This class will tackle sewing zippers, sewing straps, and sewing with canvas to make a super practical and gorgeous bag. You will learn how to sew curves, insert a zipper, create pockets and attach handles, and expertly finish off the internal seams with bias tape. 

Materials:  Fabric. Scissors, pins, sewing machine, small snips or cutting scissors, natural or white thread, a zipper foot and a heavy machine needle (90). You will also need to provide 1m Cotton Canvas, 3m of 3cm wide cotton webbing,  5m of 2cm cotton bias, 70cm chunky zip. Patterns have been generously provided to us by the lovely Purl Soho.

Takeaway:  You will be skipping off out of The Craft Sessions with all your goodies safely tucked away in this classic bag, as well as a hardcopy version of the pattern.

Level: Advanced Beginner. You need to be able to sew a straight seam. 

IMG_6256_2.JPG
IMG_4670.JPG
IMG_6192.JPG
IMG_6191_2.JPG
prev / next
Back to 2015 Workshops
FeliciaSemple-3.jpg
7
Quilting - Patchwork Pattern Play
FeliciaSemple_Sock-4.jpg
5
Knitting - Your first Sock
FeliciaSemple-3.jpg
3
Quilting - Handquilting
FeliciaSemple_Lace-1.jpg
7
Knitting - Intro to Lace
image-2.jpeg
3
Dyeing - Natural Dyeing Using Native Australian Plants
FeliciaSemple_Spinning-1.jpg
5
Spinning - A taster
IMG_3085.JPG
5
Handwork - The Basics of Smocking
FeliciaSemple_Speed-3.jpg
3
Knitting - For Speed and Comfort
IMG_8880_2.JPG
3
Sewing - Beattie Dress
image.jpeg
6
Weaving - Make a Wall Hanging using Naturally Dyed Yarn
FeliciaSemple-100.jpg
3
Knit Design - The Beauty Of Circular Yokes
FeliciaSemple-1.jpg
5
Embroidery - 101 Project Bag
FeliciaSemple-100.jpg
11
Knitting - Fisherman's Knits
web_Parisian-town_o.jpg
8
Handwork - Textile Collage
Immie2_1.jpg
1
Knitting - Into the Round and Upside Down: Converting Stitch Patterns
FeliciaSemple-1.jpg
5
Knit Design - Design your own hat
FeliciaSemple_KidsClothes-29.jpg
8
Sewing - Kid's Wardrobe in a Day
FeliciaSemple-200.jpg
1
Handwork - Darning
screenprinting_workshop4.jpg
2
Printing - Screen Printing At Home
FeliciaSemple_Embroidery-2.jpg
12
Embroidery - From The Natural World
IMG_6256_2.JPG
4
Sewing - Overnighter Bag
Featured
Making Fast Fashion: Some More Of The Grey
Apr 19, 2022
Making Fast Fashion: Some More Of The Grey
Apr 19, 2022
Apr 19, 2022
Is My Making Fast Fashion?
Apr 12, 2022
Is My Making Fast Fashion?
Apr 12, 2022
Apr 12, 2022

We Live and work on the traditional lands of the Wurundjeri people of the Kulin nation.
We acknowledge that sovereignty was never ceded and pay our respect to elders past, present and emerging.

Copyright the Craft Sessions 2020

Logo designed by the lovely Mara of Printspace and Girling Design